Changing the coil in a vape is an essential part of maintaining your device for optimal performance and flavor. Over time, the coil will degrade and need to be replaced. Knowing when and how to change the coil can be a bit tricky, but with a little bit of knowledge and practice, it can be done quickly and easily.
One of the most common signs that it’s time to change your coil is a burnt taste. This occurs when the coil has become too old and has started to burn the e-liquid instead of vaporizing it. Another sign is a decrease in flavor or vapor production. If you notice either of these signs, it’s time to change your coil and get back to enjoying your vape.
Understanding Vape Coils
Vape coils are an essential component of any vape device. They are responsible for heating up the e-liquid and creating the vapor that you inhale. Understanding how vape coils work is crucial to getting the most out of your vaping experience.
Vape coils are made up of a length of wire wrapped around a wicking material. The wire is usually made of kanthal, stainless steel, or nickel. The wicking material is typically made of cotton or a similar material that can absorb e-liquid.
When you press the fire button on your vape device, the coil heats up and vaporizes the e-liquid that is absorbed by the wicking material. The vapor is then inhaled through the mouthpiece of the device.
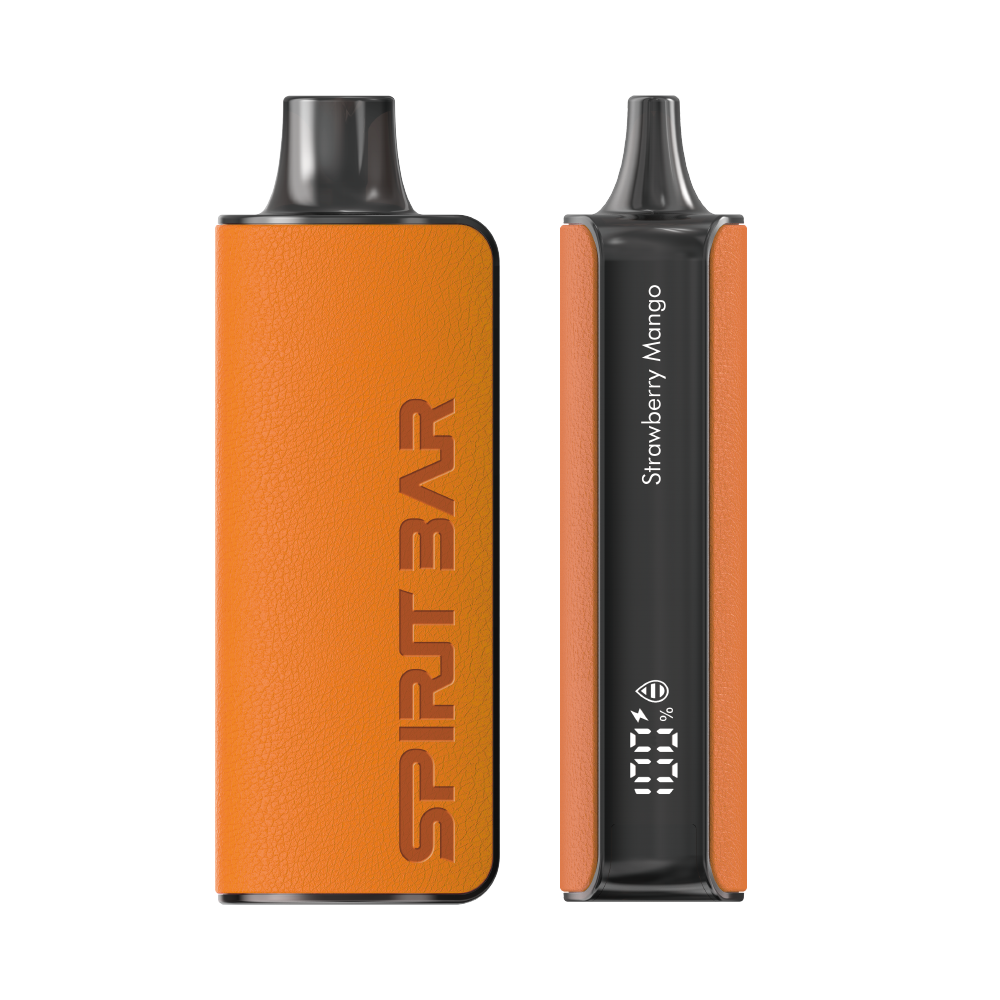
SPIRITBAR Katana BP10000
- Slender, leather-textured body reminiscent of a katana handle for an authentic samurai feel
- Unique samurai-inspired e-liquid flavor - fruity yet not too sweet, with a luxurious, elegant aroma
- Powerful 650mAh rechargeable battery for extended vaping time
- Large 18ml e-liquid capacity and 10,000 puff capacity
- Advanced mesh coil and e-liquid & power display screens for optimal vaping experience
The special juice captures the essence of the samurai spirit with its rich, smoothly pulsating flavor that brings new satisfaction with every puff. The device's slender, leather-textured design evokes the grip of a samurai's katana, making this product a perfect choice for beginner vapors.
Vape coils come in different sizes and shapes, and they are designed to work with specific devices. It is essential to use the correct coil for your device to ensure that it works correctly.
Replacing your vape coil is necessary when it burns out or becomes clogged with residue. A burnt-out coil can produce a harsh, unpleasant taste, and a clogged coil can prevent e-liquid from flowing correctly, resulting in a weak vapor production.
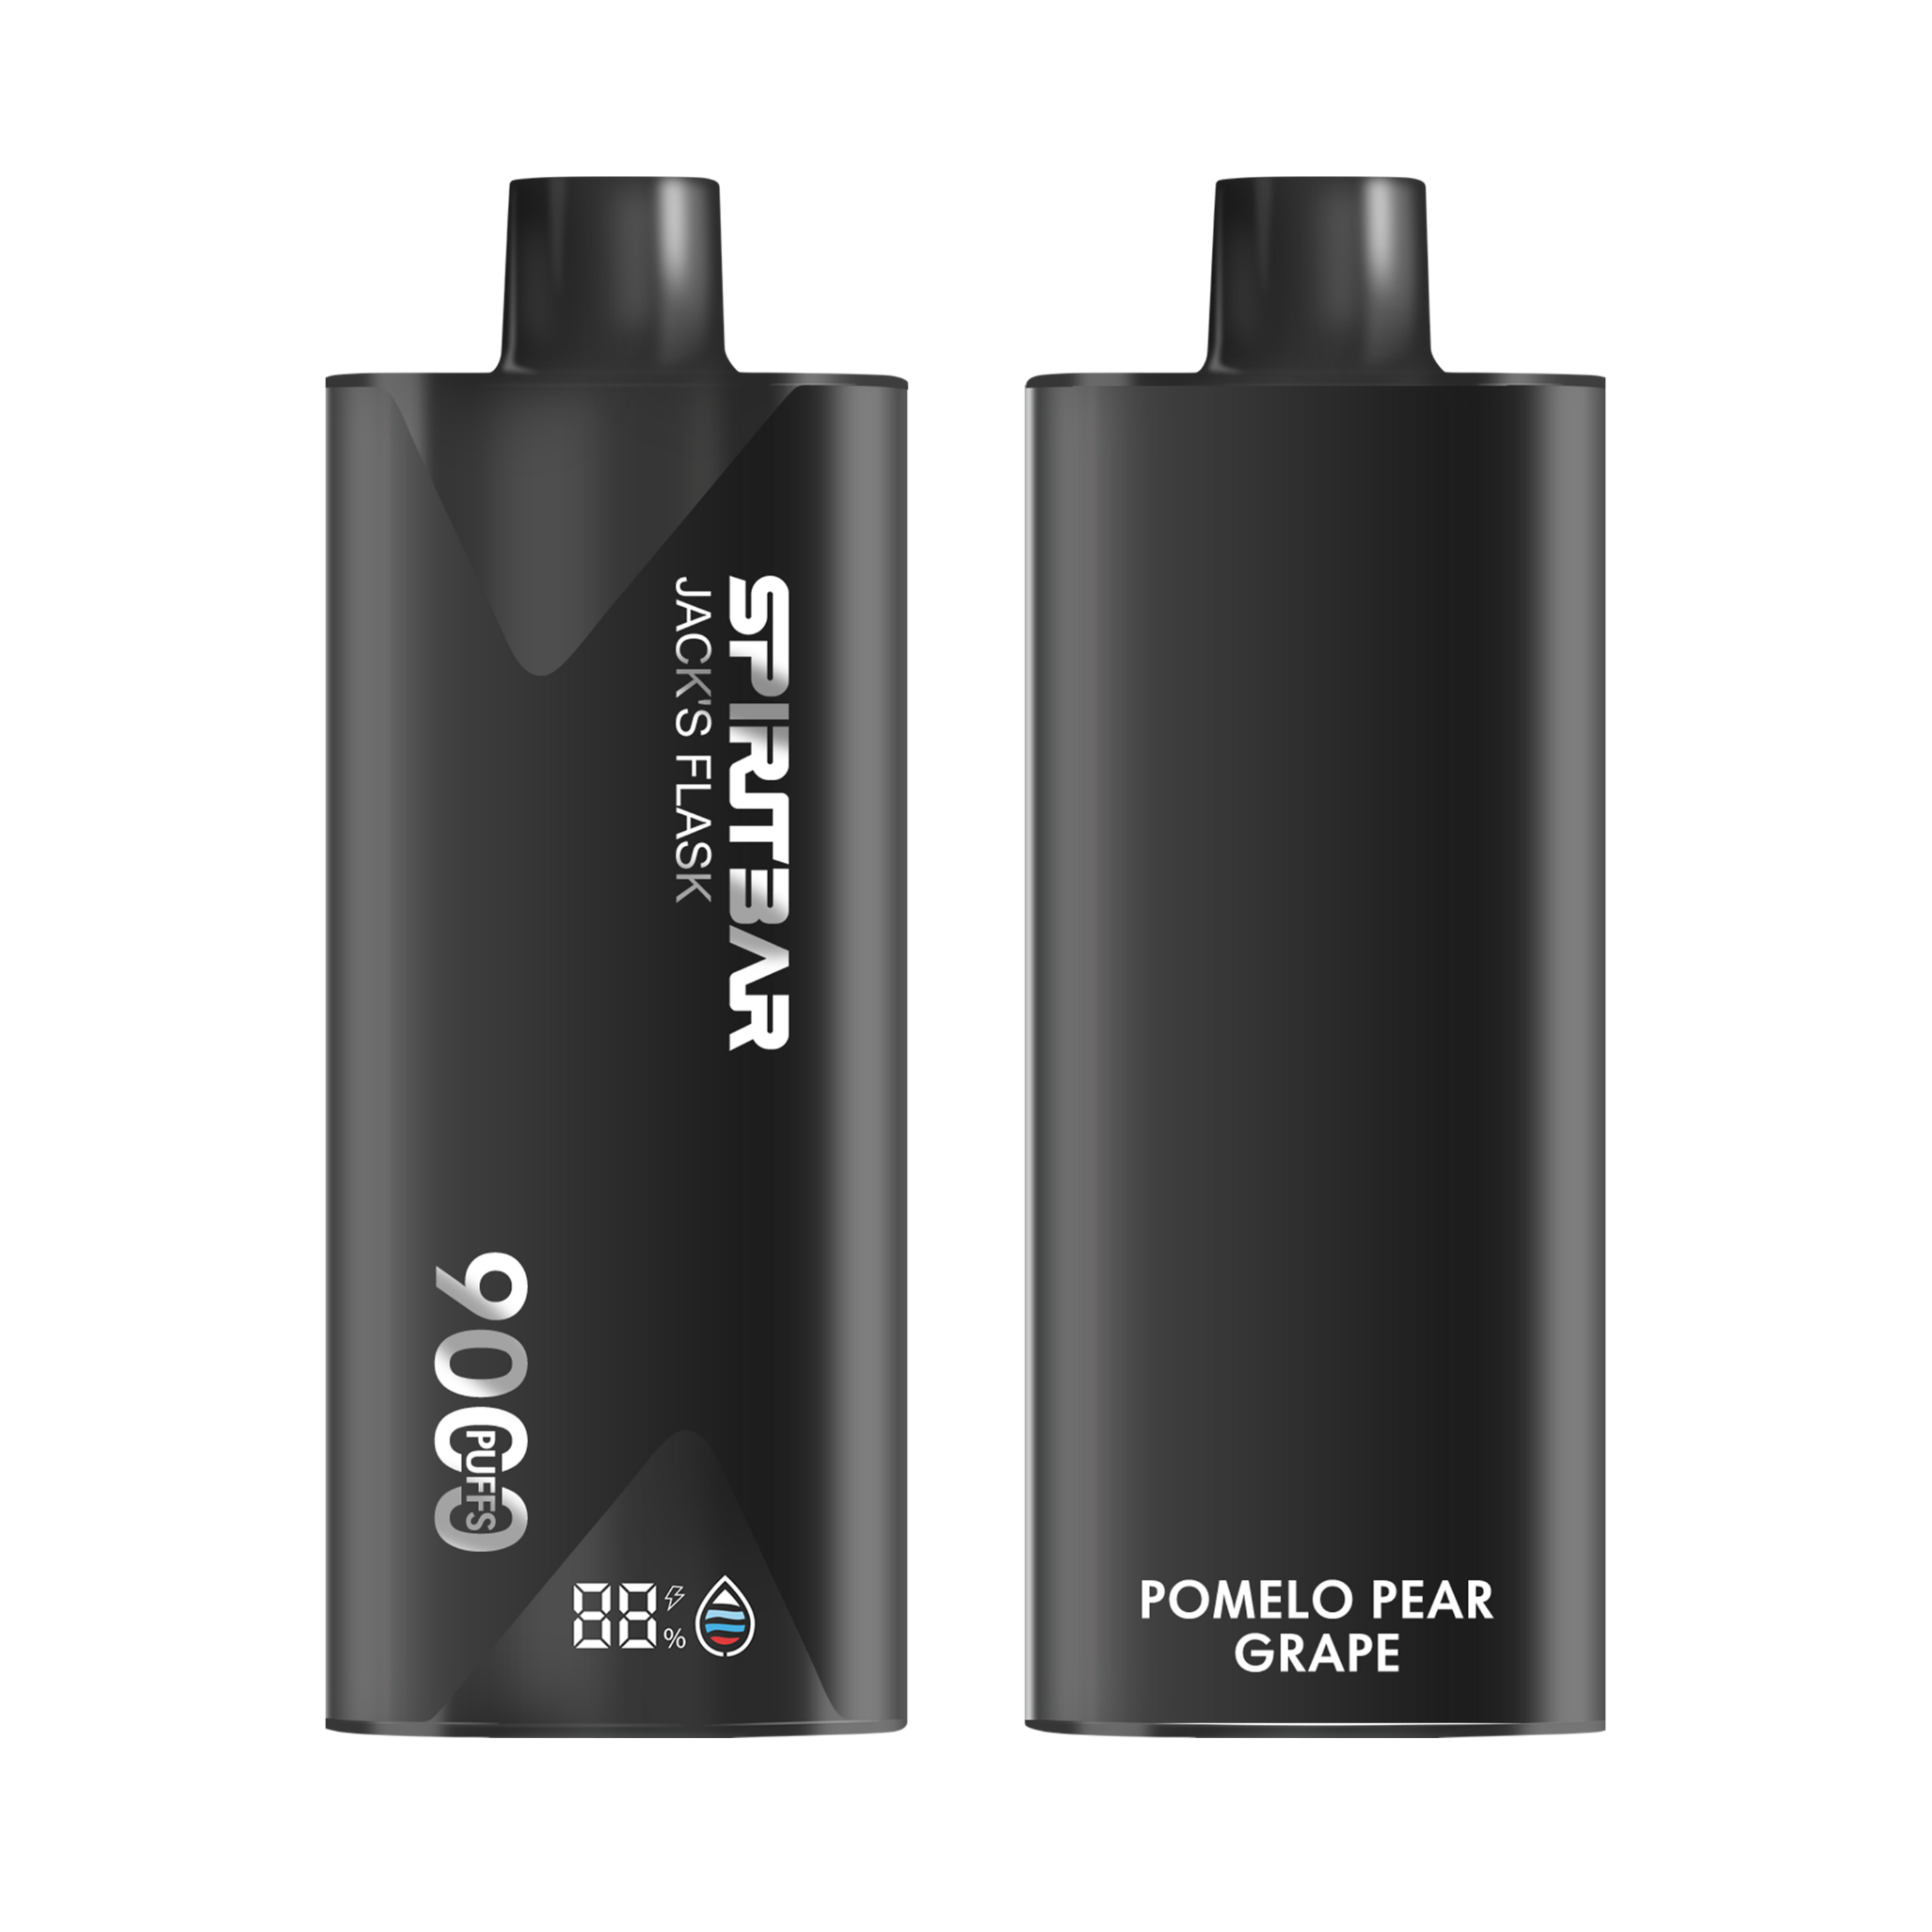
SPIRITBAR Jack’s Flask 9000 Puffs
- Stylish pirate flask-shaped body providing an exciting vaping experience
- Delivering up to 9000 puffs per device
- 20ml e-liquid capacity with 50mg nicotine strength for satisfying throat hit
- Specialized pirate-themed e-juice flavors for rich, swirling taste
- Premium mesh coil optimizes flavor profile for maximum vaping enjoyment
This disposable vape captures the daring spirit of the high seas with its flask styling and signature pirate e-juice flavors. The extraordinary battery life provides 9000 indulgent puffs for extended vaping pleasure. Live boldly and freely with the Jack's Flask - a legendary vaping experience fit for a pirate's adventures.
In conclusion, understanding vape coils is essential to getting the most out of your vaping experience. Knowing how they work and when to replace them can help ensure that your device works correctly and produces high-quality vapor.
Identifying When to Change Your Vape Coil
As a vaper, it’s crucial to know when to change your vape coil. A worn-out coil can lead to a burnt taste, reduced vapor production, and poor flavor. Here are some signs that indicate it’s time to replace your vape coil:
- Burnt taste: If you notice a burnt taste when vaping, it’s a clear indication that your coil is burnt out. A burnt coil can be caused by several factors, including chain vaping, using high wattage, or using an e-liquid with high sweetener content. It’s recommended to change your coil immediately to avoid further damage to your device.
- Reduced vapor production: If you notice that your vape is producing less vapor than usual, it could be a sign that your coil is worn out. A worn-out coil can’t heat up the e-liquid efficiently, leading to reduced vapor production.
- Poor flavor: A worn-out coil can also affect the flavor of your e-liquid. If you notice a change in flavor or a lack of flavor, it could be a sign that your coil needs to be replaced.
- Gurgling sound: If you hear a gurgling sound when vaping, it could be a sign that your coil is flooded. A flooded coil can’t heat up the e-liquid properly, leading to poor vapor production and a burnt taste.
- Coil discoloration: If you notice that your coil has turned black or dark brown, it’s a sign that it’s time to replace it. A discolored coil is an indication that it’s burnt out and no longer functioning correctly.
In conclusion, it’s essential to keep an eye out for these signs to know when to change your vape coil. Changing your coil regularly will ensure that you have a great vaping experience with optimal flavor and vapor production.
Materials Needed for Coil Replacement
To replace a vape coil, you will need a few materials. Here are the materials you will need:
- Replacement coils: These can be purchased from your local vape shop or online. Make sure you get the right type of coil for your specific vape device.
- Paper towel: This will help keep your hands clean while you are replacing the coil.
- Vape juice: You will need to refill your tank with vape juice after replacing the coil.
- Tweezers: These can be helpful for removing the old coil and installing the new one, especially if your hands are too big to maneuver inside the tank.
- Small screwdriver: This can be useful for unscrewing the base of the tank and removing the old coil.
- Optional: A vape band or rubber band: This can be wrapped around the tank to provide extra grip when unscrewing the base or coil.
Make sure you have all of these materials on hand before you begin replacing your coil. Having everything you need will make the process smoother and more efficient.
Steps to Change a Vape Coil
Changing the coil in your vape device is an important part of maintaining your device’s performance and ensuring the best possible vaping experience. Follow these simple steps to change your vape coil:
SPIRITBAR Katana BP10000
- Slender, leather-textured body reminiscent of a katana handle for an authentic samurai feel
- Unique samurai-inspired e-liquid flavor - fruity yet not too sweet, with a luxurious, elegant aroma
- Powerful 650mAh rechargeable battery for extended vaping time
- Large 18ml e-liquid capacity and 10,000 puff capacity
- Advanced mesh coil and e-liquid & power display screens for optimal vaping experience
The special juice captures the essence of the samurai spirit with its rich, smoothly pulsating flavor that brings new satisfaction with every puff. The device's slender, leather-textured design evokes the grip of a samurai's katana, making this product a perfect choice for beginner vapors.
Removing the Old Coil
- Unscrew the tank from the body of the vape to expose your coil. Every vape setup is slightly different, but in general, you can easily unscrew the tank from the bottom section. Hold the tank upside down and twist the tank off using your hands.
- Remove the old coil by unscrewing it from the base of the tank. Be sure to dispose of the old coil properly.
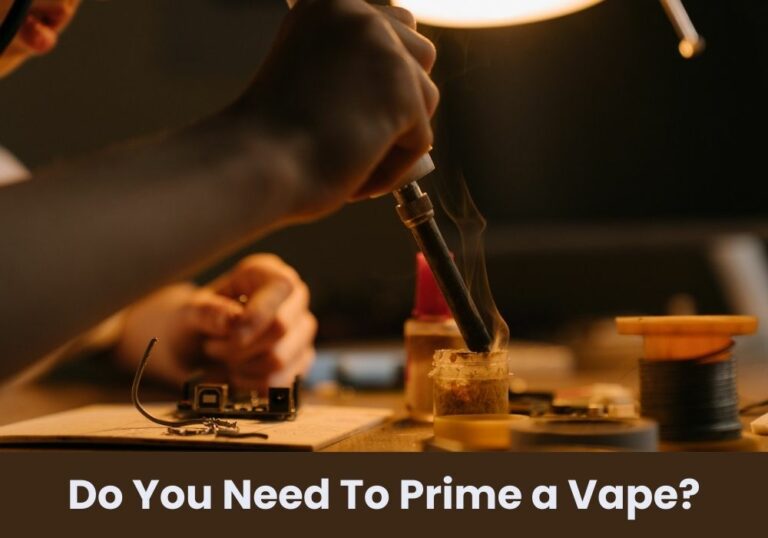
Priming the New Coil
- Before installing the new coil, prime it by adding a few drops of e-liquid to the top of the coil and to the wicking holes on the side of the coil. This will help prevent the coil from burning out too quickly.
- Let the coil sit for a few minutes to allow the e-liquid to soak into the wick.
Installing the New Coil
- Screw the new coil into the base of the tank, making sure it is snug but not too tight.
- Reattach the tank to the body of the vape and fill it with e-liquid.
- Let the tank sit for a few minutes to allow the e-liquid to saturate the new coil.
- Finally, take a few test puffs to ensure everything is working properly.
By following these simple steps, you can easily change the coil in your vape device and ensure the best possible vaping experience.
Troubleshooting Common Issues
As a vaper, you may experience some common issues with your vape coil. Here are some of the most common problems and their solutions:
Leaking Issues
One of the most common issues with vape coils is leaking. This can be caused by a variety of factors, including a faulty coil, improper installation, or a damaged tank. If you notice that your vape is leaking, try the following troubleshooting steps:
- Check the coil and make sure it is properly installed.
- Check the tank for any cracks or damage.
- Make sure the tank is not overfilled.
- Check the O-rings and make sure they are not damaged or missing.
- Try using a different coil.
Burning Taste
Another common issue with vape coils is a burnt taste. This can be caused by a variety of factors, including a dry coil, a dirty coil, or a coil that has reached the end of its lifespan. If you notice a burnt taste, try the following troubleshooting steps:
- Check the coil and make sure it is properly saturated with e-liquid.
- Check the e-liquid and make sure it is not burnt or expired.
- Try lowering the wattage on your device.
- Try using a different coil.
Poor Vapor Production
If you are not getting enough vapor from your vape, there may be an issue with your coil. This can be caused by a variety of factors, including a clogged coil, a faulty coil, or improper installation. If you are experiencing poor vapor production, try the following troubleshooting steps:
- Check the coil and make sure it is properly installed.
- Check the tank for any clogs or blockages.
- Try using a different coil.
- Make sure your device is charged and has enough power to produce vapor.
By following these troubleshooting steps, you can quickly identify and resolve common issues with your vape coil.
Maintaining Your Vape Coil
As a vaper, it is important to maintain your vape coil to ensure the best possible vaping experience. Here are a few tips to help you maintain your vape coil:
- Keep Your Coil Clean: Over time, your vape coil can accumulate residue and gunk from e-juice. This can lead to a burnt taste and decreased performance. To prevent this, you can clean your coil regularly. You can use a cotton swab or a dry cloth to gently clean the coil. Be careful not to damage the coil while cleaning.
- Prime Your Coil: Before using a new coil, it is important to prime it. This means saturating the coil with e-juice before using it for the first time. To prime your coil, simply pour a few drops of e-juice onto the coil and let it soak in for a few minutes. This will help prevent dry hits and extend the life of your coil.
- Replace Your Coil When Necessary: Even with proper maintenance, your vape coil will eventually wear out and need to be replaced. Signs that it is time to replace your coil include a burnt taste, decreased vapor production, and a change in flavor. Depending on how often you use your vape, you may need to replace your coil every few weeks or every few months.
By following these tips, you can help ensure that your vape coil lasts as long as possible and that you have the best possible vaping experience.
Frequently Asked Questions
How do I change the coil in my Vaporesso vape?
To change the coil in your Vaporesso vape, first, you need to unscrew the tank from the battery. Then, remove the base of the tank and unscrew the old coil from the base. Screw the new coil into the base and reattach the base to the tank. Finally, reattach the tank to the battery.
How do I know if my vape coil needs replacing?
There are a few signs that indicate your vape coil needs replacing. If you notice a burnt taste or a decrease in vapor production, it’s probably time to change the coil. You may also notice a gurgling sound or leaking from the tank.
How do I change the coil in my SMOK Nord?
To change the coil in your SMOK Nord, first, remove the pod from the device. Then, remove the old coil by pulling it out of the pod. Insert the new coil into the pod and press it down until it clicks into place. Finally, reattach the pod to the device.
Can I change the coil in my vape if there’s juice in the tank?
Yes, you can change the coil in your vape even if there’s juice in the tank. However, it’s recommended to empty the tank before changing the coil to avoid any spills or leaks.
How do I change the coil in my Uwell Caliburn vape?
To change the coil in your Uwell Caliburn vape, first, remove the pod from the device. Then, remove the old coil by pulling it out of the pod. Insert the new coil into the pod and press it down until it clicks into place. Finally, reattach the pod to the device.
How do I replace the coil on my Vaporesso XROS vape?
To replace the coil on your Vaporesso XROS vape, first, remove the pod from the device. Then, remove the old coil by pulling it out of the pod. Insert the new coil into the pod and press it down until it clicks into place. Finally, reattach the pod to the device.