Are you wondering how to sterilize your vape? Keeping your vape clean and free of harmful bacteria is essential for maintaining your health and the longevity of your device. Sterilizing your vape will remove any harmful bacteria from your device and ensure that you have a clean and safe vaping experience.
There are several methods to sterilize your vape, including using alcohol, boiling water, or specialized cleaning solutions. Before you begin, make sure to disassemble your device and remove the batteries. You don’t want to damage your device or yourself during the sterilization process.
Once you have disassembled your device, you can begin sterilizing. Depending on the method you choose, you may need to soak your device in alcohol or cleaning solution, or boil it in water. It’s important to follow the instructions carefully and ensure that your device is completely dry before reassembling it. By sterilizing your vape regularly, you can ensure that you have a safe and enjoyable vaping experience.
Understanding Vape Devices
If you’re new to vaping, it’s important to understand the basic components of a vape device. A typical vape device consists of a battery, a tank or pod, and a coil. The battery provides power to the device, while the tank or pod holds the e-liquid. The coil is the heating element that vaporizes the e-liquid.
There are different types of vape devices, including vape pens, box mods, and pod systems. Vape pens are the most common type of vape device and are designed to be simple and easy to use. Box mods are more advanced and allow for more customization, while pod systems are compact and often used for nicotine salt e-liquids.
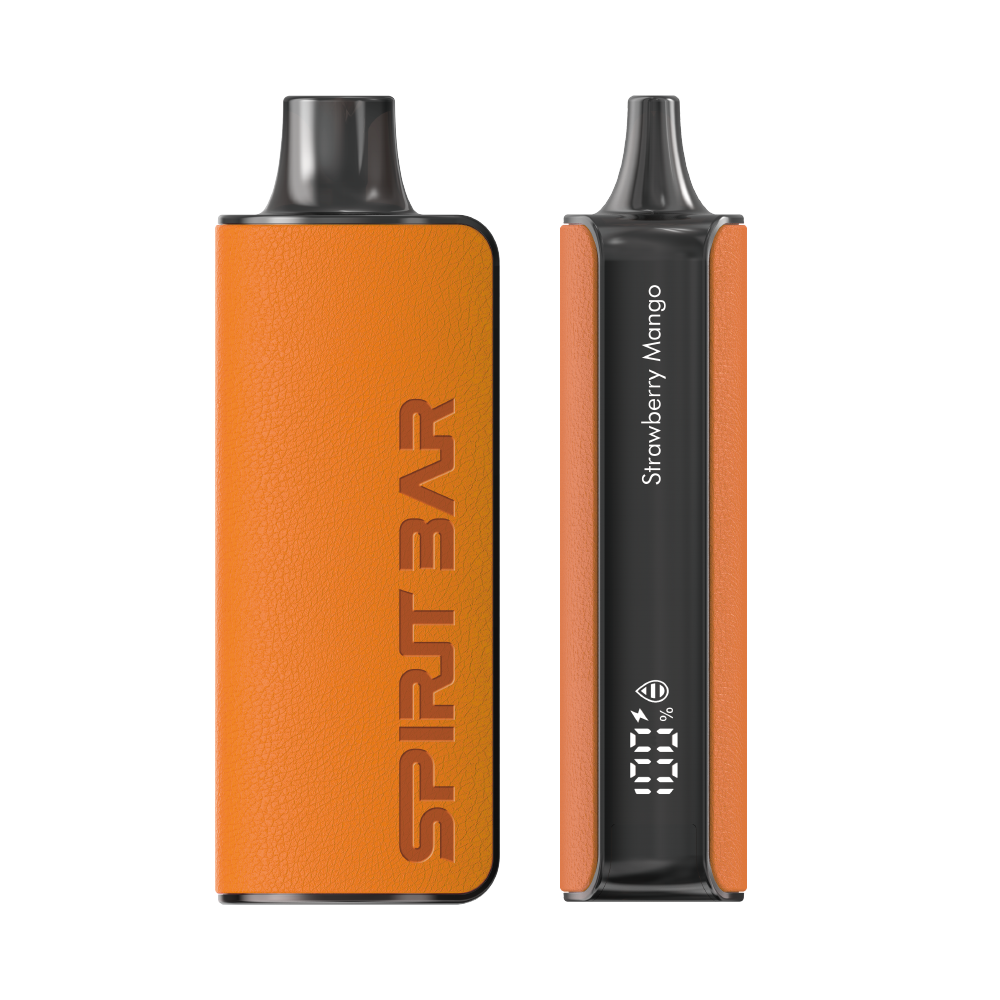
SPIRITBAR Katana BP10000
- Slender, leather-textured body reminiscent of a katana handle for an authentic samurai feel
- Unique samurai-inspired e-liquid flavor - fruity yet not too sweet, with a luxurious, elegant aroma
- Powerful 650mAh rechargeable battery for extended vaping time
- Large 18ml e-liquid capacity and 10,000 puff capacity
- Advanced mesh coil and e-liquid & power display screens for optimal vaping experience
The special juice captures the essence of the samurai spirit with its rich, smoothly pulsating flavor that brings new satisfaction with every puff. The device's slender, leather-textured design evokes the grip of a samurai's katana, making this product a perfect choice for beginner vapors.
When it comes to sterilizing your vape device, it’s important to understand the specific components of your device and how to properly clean them. This will help ensure that your device is free from harmful bacteria and is functioning properly.
In the next section, we’ll go over some basic steps for cleaning and sterilizing your vape device.
SPIRITBAR Jack’s Flask 9000 Puffs
- Stylish pirate flask-shaped body providing an exciting vaping experience
- Delivering up to 9000 puffs per device
- 20ml e-liquid capacity with 50mg nicotine strength for satisfying throat hit
- Specialized pirate-themed e-juice flavors for rich, swirling taste
- Premium mesh coil optimizes flavor profile for maximum vaping enjoyment
This disposable vape captures the daring spirit of the high seas with its flask styling and signature pirate e-juice flavors. The extraordinary battery life provides 9000 indulgent puffs for extended vaping pleasure. Live boldly and freely with the Jack's Flask - a legendary vaping experience fit for a pirate's adventures.
Why Sterilisation Is Important
When it comes to vaping, sterilisation is a key aspect that should not be overlooked. Sterilising your vape device is important for several reasons.
Firstly, it helps to remove any harmful bacteria and viruses that may be present on the device. This is especially important if you share your vape with others, as it can help prevent the spread of germs and illnesses.
Secondly, sterilisation can help to prolong the lifespan of your device. Over time, bacteria and other contaminants can build up on the device, which can cause it to malfunction or break down. Sterilising your device regularly can help to prevent this from happening, ensuring that it lasts longer and performs better.
Finally, sterilisation can help to improve the overall vaping experience. A clean, sterilised device will produce better-tasting vapour and will be more pleasant to use than a dirty, contaminated device.
Overall, sterilisation is an important aspect of vaping that should not be overlooked. By taking the time to sterilise your device regularly, you can ensure that it remains clean, safe, and functional, while also improving your overall vaping experience.
Preparation for Sterilisation
Before you begin sterilising your vape, it’s important to gather all the necessary supplies and disassemble your device. This will make the sterilisation process more effective and efficient.
Gathering Necessary Supplies
To sterilise your vape, you will need the following supplies:
SPIRITBAR Katana BP10000
- Slender, leather-textured body reminiscent of a katana handle for an authentic samurai feel
- Unique samurai-inspired e-liquid flavor - fruity yet not too sweet, with a luxurious, elegant aroma
- Powerful 650mAh rechargeable battery for extended vaping time
- Large 18ml e-liquid capacity and 10,000 puff capacity
- Advanced mesh coil and e-liquid & power display screens for optimal vaping experience
The special juice captures the essence of the samurai spirit with its rich, smoothly pulsating flavor that brings new satisfaction with every puff. The device's slender, leather-textured design evokes the grip of a samurai's katana, making this product a perfect choice for beginner vapors.
- Isopropyl alcohol (at least 90% concentration)
- A small container or bowl
- A clean, soft-bristled brush
- Microfiber cloth or paper towels
Make sure you have all these supplies on hand before you begin.
Disassembling Your Vape
To prepare your vape for sterilisation, you need to disassemble it. This will allow you to clean all the individual parts more thoroughly. Here’s how to disassemble your vape:
- Remove the tank from the battery.
- Take apart the tank by unscrewing the different parts.
- Remove the coil from the tank.
- Take apart the coil by unscrewing the different parts.
- Remove the mouthpiece from the tank.
Once you have disassembled your vape, you’re ready to move on to the sterilisation process.
The Sterilisation Process
When it comes to sterilising your vape, it’s important to take the necessary steps to ensure that all components are properly cleaned and sanitised. Here are the steps you can take to sterilise your vape:
Cleaning the Components
Before sterilising your vape, it’s important to first clean all of the components. This includes the tank, mouthpiece, and any other removable parts. You can clean these components using warm, soapy water and a soft-bristled brush. Be sure to rinse the components thoroughly with water and let them dry completely before moving on to the next step.
Sanitising the Components
Once all of the components have been thoroughly cleaned and dried, it’s time to sanitise them. There are a few methods you can use to sanitise your vape components, including:
- Boiling: Boil the components in water for 10-15 minutes to kill any bacteria or germs.
- Alcohol: Soak the components in rubbing alcohol for 10-15 minutes to kill any bacteria or germs.
- UV-C Light: Use a UV-C light device to sterilise the components. Be sure to follow the manufacturer’s instructions carefully.
After sanitising your components, be sure to rinse them thoroughly with water and let them dry completely before reassembling your vape.
By following these simple steps, you can ensure that your vape is properly sterilised and free from harmful bacteria or germs.
Reassembling Your Vape
Once you have cleaned all the parts of your vape, it’s time to put them back together. Follow these steps to reassemble your vape properly:
- Make sure all the parts are completely dry before you start reassembling. Any moisture left in the vape can cause damage to the battery or other components.
- Begin by reattaching the mouthpiece to the top of the vape. Make sure it’s securely fastened in place.
- Next, insert the coil back into the tank. Be careful not to damage the coil or the tank while doing this.
- Screw the tank back onto the battery. Make sure it’s securely fastened in place.
- Finally, add your e-liquid to the tank. Be careful not to overfill the tank, as this can cause leakage.
- Turn on your vape and test it to make sure everything is working properly. If you notice any issues, disassemble the vape and check for any loose or improperly installed parts.
By following these steps, you can ensure that your vape is properly reassembled and ready to use. Make sure to clean your vape regularly to keep it in good working condition and to avoid any potential health risks.
Maintaining Your Vape
To ensure that your vape continues to perform at its best, you need to maintain it properly. This involves regular cleaning and proper storage. Here are some tips to help you keep your vape in top condition.
Regular Cleaning
Cleaning your vape is an important part of maintenance. Over time, e-juice can build up on the coils and other parts of your vape, which can affect its performance. Here’s how to clean your vape:
- Disassemble your vape: Before you start cleaning your vape, make sure it is turned off and disassembled. Remove the tank, coil, and any other removable parts.
- Clean the tank: Rinse the tank with warm water to remove any e-juice residue. If the tank is particularly dirty, you can use a mild soap solution to clean it. Rinse thoroughly and let it dry completely.
- Clean the coil: If your coil is dirty, you can clean it by soaking it in warm water for a few minutes. You can also use a specialized coil cleaning solution. Rinse the coil thoroughly and let it dry completely before reassembling your vape.
- Clean the other parts: Use a cotton swab or a soft-bristled brush to clean the other parts of your vape, such as the battery and the connectors.
- Reassemble your vape: Once everything is clean and dry, reassemble your vape and fill the tank with fresh e-juice.
Proper Storage
Proper storage is also important for maintaining your vape. Here are some tips to help you store your vape properly:
- Keep it away from heat and sunlight: Heat and sunlight can damage your vape, so store it in a cool, dark place.
- Store it upright: Storing your vape upright will help prevent e-juice from leaking out of the tank.
- Use a case: If you’re traveling with your vape, use a case to protect it from bumps and scratches.
By following these tips, you can keep your vape in top condition and enjoy a great vaping experience.