Priming a vape coil is an essential step in ensuring a smooth, flavorful, and enjoyable vaping experience. If you’re new to vaping, you may be wondering what priming is and why it’s important. In this article, I’ll explain what priming is, why it’s necessary, and how you can prime your vape coil like a pro.
When you install a new coil in your vape device, it’s essential to prime it before using it. Priming involves saturating the coil’s wick with e-liquid to ensure that it’s fully soaked and ready to vaporize. If you don’t prime your coil, you risk burning the wick or getting a dry hit, which can be unpleasant and potentially harmful.
Priming your vape coil is a simple process that only takes a few minutes, but it can make a big difference in your vaping experience. In the next section, I’ll walk you through the steps to prime your vape coil properly.
Understanding Vape Coils
As a vaper, understanding your vape coil is essential to getting the best vaping experience. A vape coil is the heating element in your vaping device that heats up the e-liquid and turns it into vapor. Vape coils come in different shapes, sizes, and resistance levels, and each type of coil is designed to work with a specific type of vaping device.
The most common types of vape coils are made of kanthal, stainless steel, nickel, or titanium wire. Each wire has its own unique properties that affect the coil’s performance and the flavor of the vapor produced. For example, kanthal wire is a popular choice for MTL (mouth-to-lung) coils because it has a higher resistance, which means it heats up slower and produces less vapor.
The resistance of a vape coil is measured in ohms and is an important factor in determining the vaping experience. A higher resistance coil will produce less vapor and a cooler vape, while a lower resistance coil will produce more vapor and a warmer vape. It’s important to choose the right resistance level for your vaping style and device.
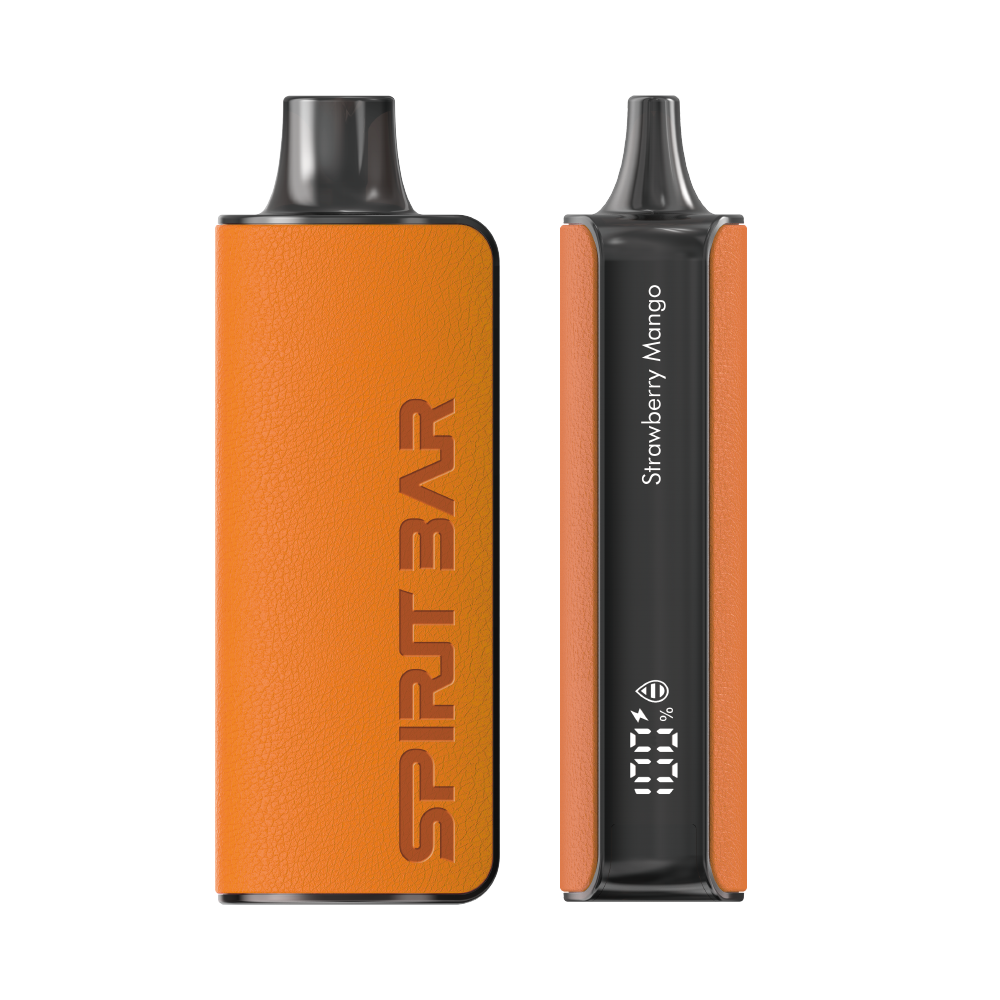
SPIRITBAR Katana BP10000
- Slender, leather-textured body reminiscent of a katana handle for an authentic samurai feel
- Unique samurai-inspired e-liquid flavor - fruity yet not too sweet, with a luxurious, elegant aroma
- Powerful 650mAh rechargeable battery for extended vaping time
- Large 18ml e-liquid capacity and 10,000 puff capacity
- Advanced mesh coil and e-liquid & power display screens for optimal vaping experience
The special juice captures the essence of the samurai spirit with its rich, smoothly pulsating flavor that brings new satisfaction with every puff. The device's slender, leather-textured design evokes the grip of a samurai's katana, making this product a perfect choice for beginner vapors.
Another important factor to consider when choosing a vape coil is the coil’s wattage range. Each coil has a recommended wattage range, and exceeding this range can result in burnt coils, dry hits, and a poor vaping experience. It’s important to stay within the recommended wattage range to get the best performance and flavor from your vape coil.
In summary, understanding your vape coil is crucial to getting the best vaping experience. Consider the type of wire, resistance level, and wattage range when choosing a vape coil for your device. With the right vape coil, you can enjoy a flavorful and satisfying vaping experience.
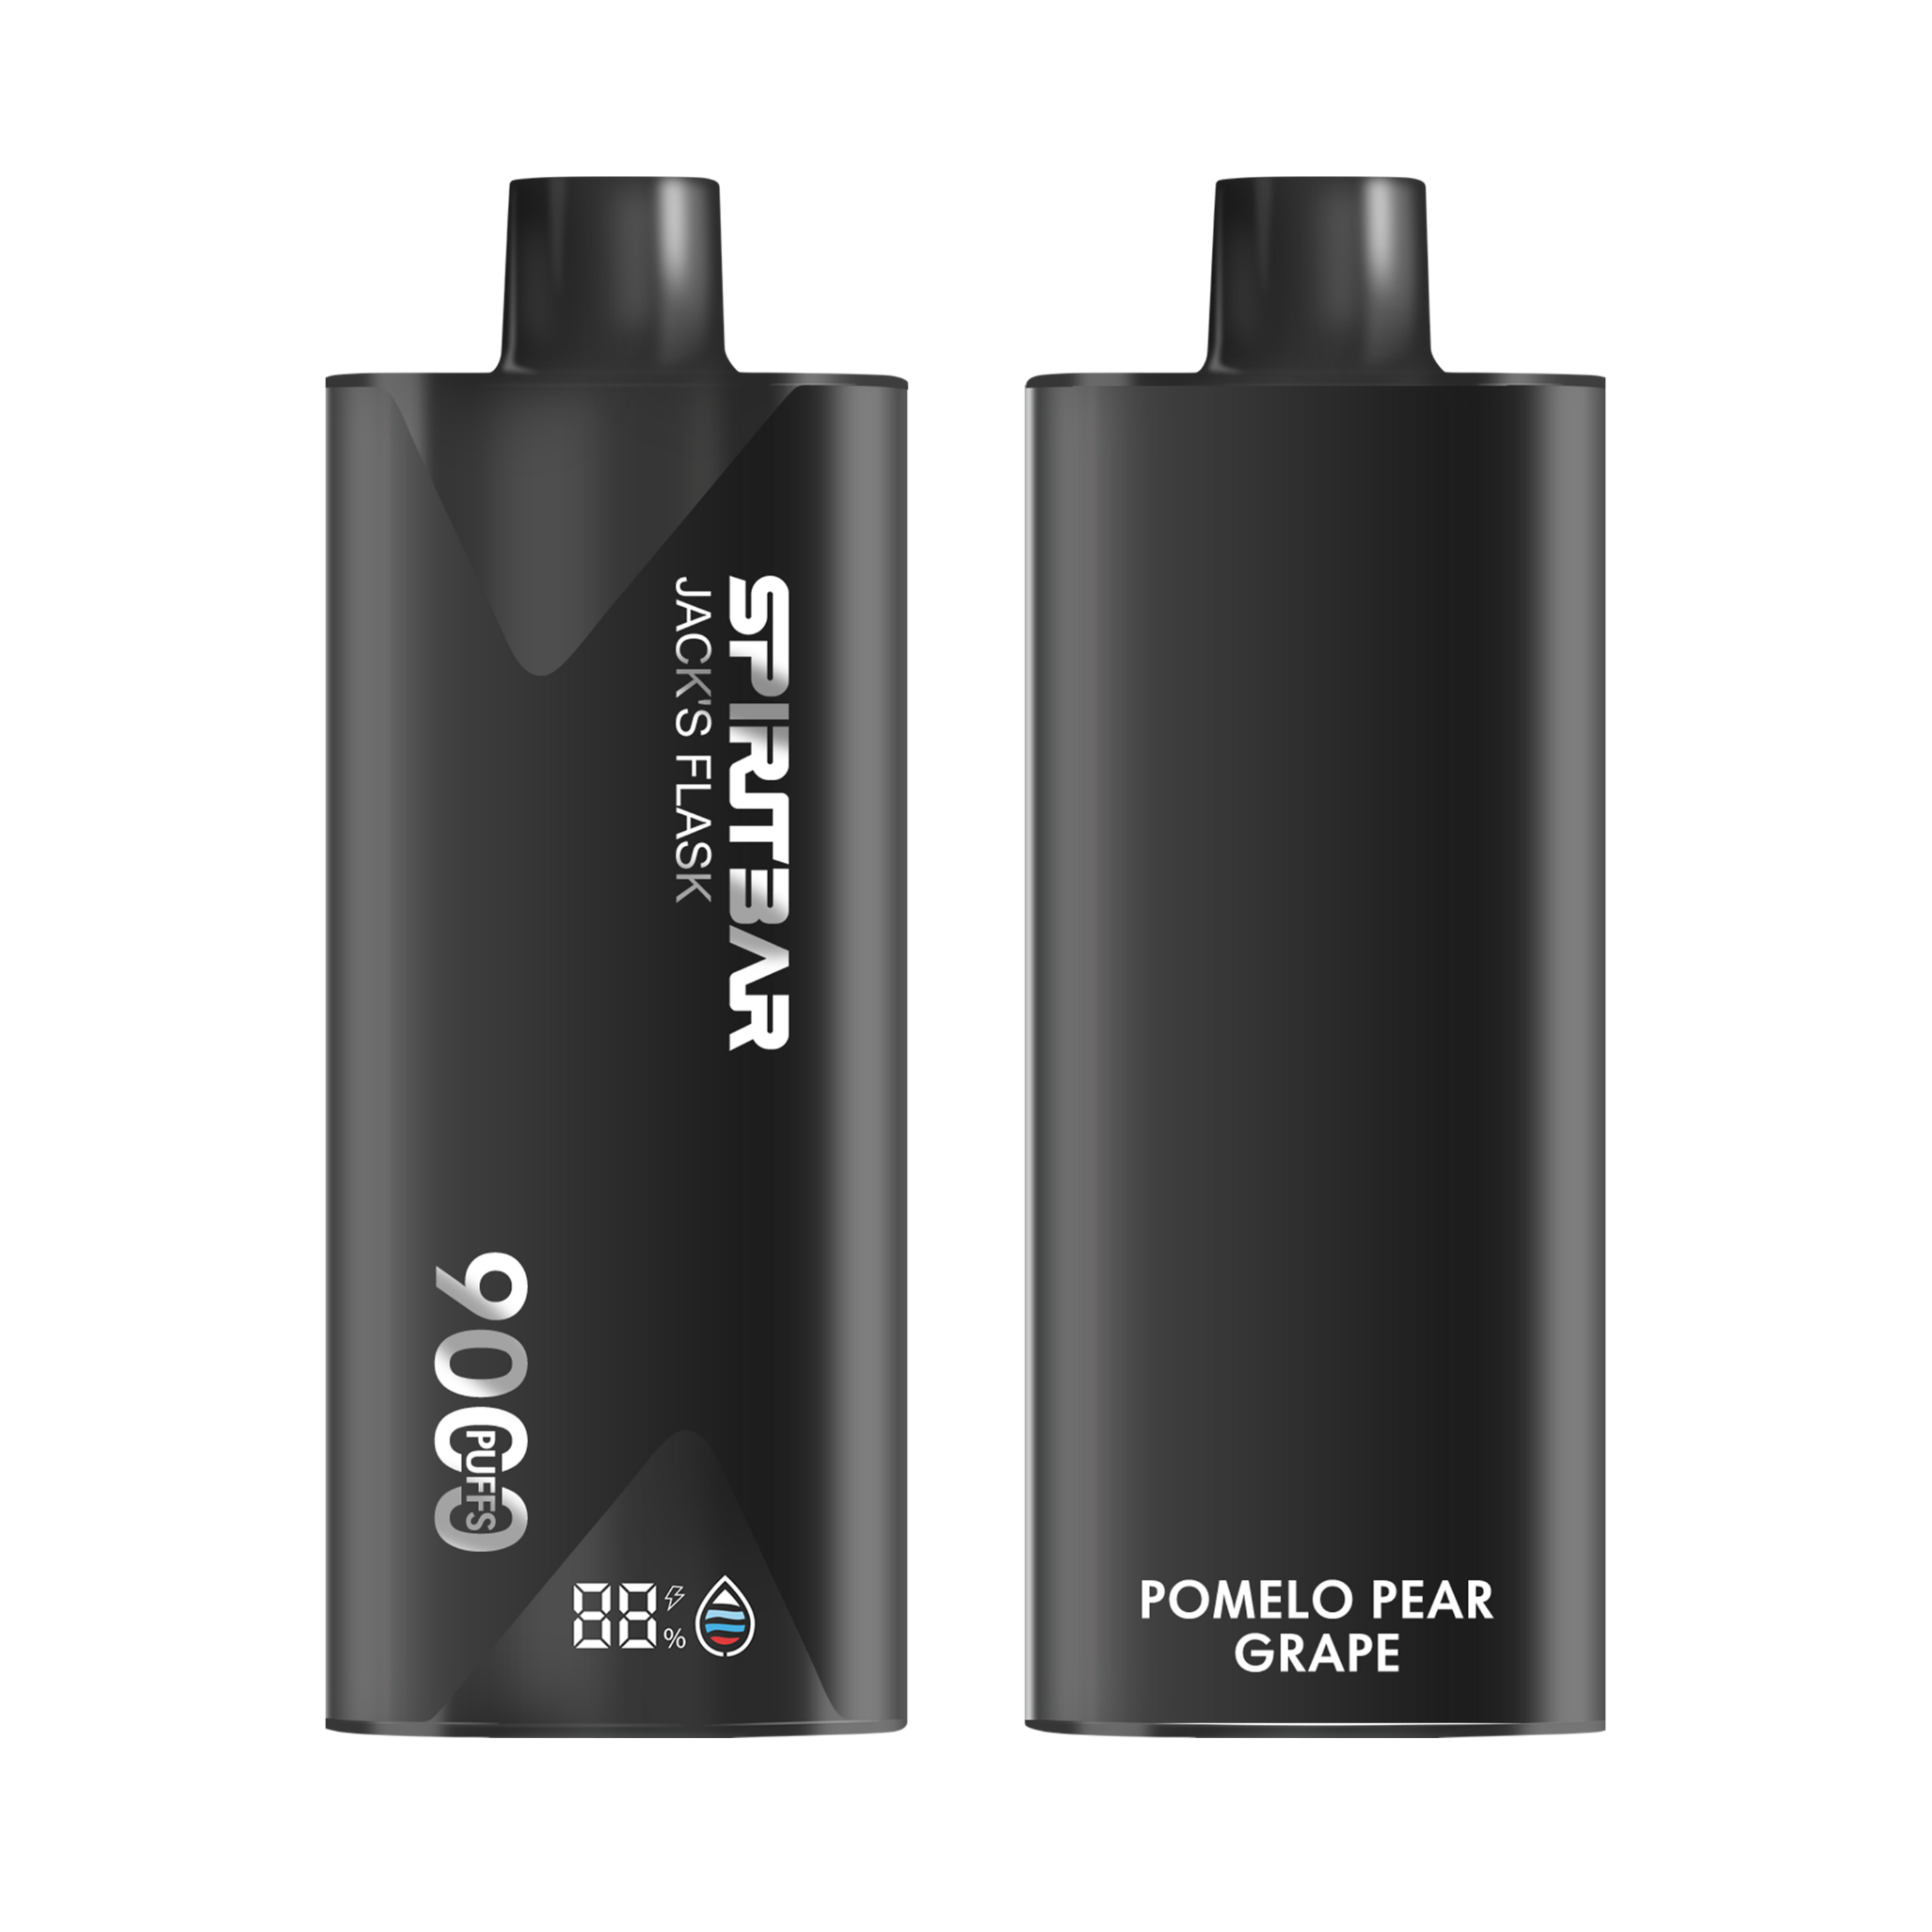
SPIRITBAR Jack’s Flask 9000 Puffs
- Stylish pirate flask-shaped body providing an exciting vaping experience
- Delivering up to 9000 puffs per device
- 20ml e-liquid capacity with 50mg nicotine strength for satisfying throat hit
- Specialized pirate-themed e-juice flavors for rich, swirling taste
- Premium mesh coil optimizes flavor profile for maximum vaping enjoyment
This disposable vape captures the daring spirit of the high seas with its flask styling and signature pirate e-juice flavors. The extraordinary battery life provides 9000 indulgent puffs for extended vaping pleasure. Live boldly and freely with the Jack's Flask - a legendary vaping experience fit for a pirate's adventures.
Importance of Priming a Vape Coil
As a vaper, it is important to prime your vape coil before using it. Priming your coil involves saturating the wick with e-liquid before the first use. This process helps to improve the coil’s quality and longevity.
When you do not prime your coil, you run the risk of getting dry hits, which can be harsh on your throat and lungs. Dry hits occur when the wick is not fully saturated with e-liquid and burns the coil’s material instead of the e-liquid. This can cause the coil to burn out quickly and reduce its lifespan.
Priming your coil ensures that the wick is fully saturated with e-liquid, reducing the likelihood of dry hits and burnt hits. Burnt hits occur when the coil’s material is burnt due to insufficient e-liquid, causing a harsh burnt sensation to your throat and lungs.
In summary, priming your vape coil is an essential step to ensure the longevity of your coil and to enhance your vaping experience. It helps to prevent dry hits and burnt hits, making your vaping experience more enjoyable and smoother.
Materials Needed to Prime a Vape Coil
To prime a vape coil, you need a few materials to ensure that the process goes smoothly. Below are the materials needed:
Choosing the Right Vape Juice
When it comes to choosing the right vape juice, it is important to consider a few factors. First, you need to ensure that the vape juice is compatible with your vape coil. Second, you need to consider the VG/PG ratio of the vape juice. VG stands for vegetable glycerin, while PG stands for propylene glycol. The ratio of VG to PG in a vape juice affects the thickness of the liquid, which in turn affects how well it wicks into the coil.
Coil Compatibility
To prime a vape coil, you need to ensure that the coil is compatible with your vape device. There are many different types of coils on the market, and each one is designed to work with a specific vape device. When purchasing a new coil, make sure that it is compatible with your device.
Proper Tools
To prime a vape coil, you will need a few tools. These include a bottle of vape juice, a paper towel, and a pair of tweezers. The vape juice is used to saturate the cotton wick in the coil, while the paper towel is used to clean up any excess juice. The tweezers are used to remove the coil from the device and to manipulate the cotton wick.
SPIRITBAR Katana BP10000
- Slender, leather-textured body reminiscent of a katana handle for an authentic samurai feel
- Unique samurai-inspired e-liquid flavor - fruity yet not too sweet, with a luxurious, elegant aroma
- Powerful 650mAh rechargeable battery for extended vaping time
- Large 18ml e-liquid capacity and 10,000 puff capacity
- Advanced mesh coil and e-liquid & power display screens for optimal vaping experience
The special juice captures the essence of the samurai spirit with its rich, smoothly pulsating flavor that brings new satisfaction with every puff. The device's slender, leather-textured design evokes the grip of a samurai's katana, making this product a perfect choice for beginner vapors.
That’s it! With these materials, you will be able to prime your vape coil and enjoy a smooth vaping experience.
Step-by-Step Guide to Priming a Vape Coil
As a vaper, it is crucial to understand how to prime your vape coil to prevent burnt hits and ensure top-quality vapor flavor. Here is a step-by-step guide to priming a vape coil:
Preparation
Before you start priming your vape coil, you need to make sure you have the following items:
- A new vape coil
- Vape juice
- A paper towel or tissue
- A tank
Applying the Vape Juice
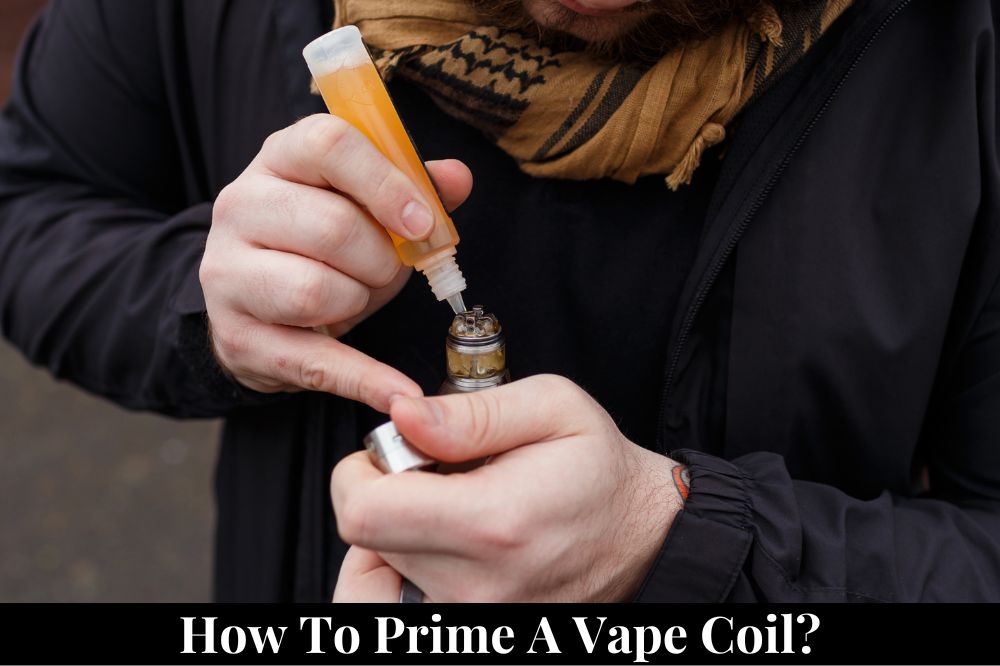
- Put the new coil in as usual, and make sure to fill your tank. Fill the tank until it’s almost full.
- Let the coil soak itself for around 10 minutes. This step is crucial for coils that don’t have an exposed wick.
- After 10 minutes, take a few hits without pressing the fire button. This step will help the juice to flow through the coil and saturate the wick.
- Drip a few drops of vape juice on the exposed cotton wick on the coil head. This step is optional but can help the wick absorb more juice.
Installation of the Coil
- Remove the old coil from the tank and discard it.
- Take the new coil and screw it onto the base of the tank.
- Reassemble the tank and fill it up with vape juice.
Final Steps
- Install the tank onto your vape device.
- Start vaping at a low wattage, gradually increasing it to your preferred level.
- Take a few hits and check if the flavor is smooth and consistent. If you notice any burnt taste or lack of flavor, repeat the priming process.
In conclusion, priming your vape coil is a simple process that can help you achieve the best vaping experience. By following these steps, you can ensure that your vape coil is properly saturated and ready for use.
Tips for a Better Priming Experience
Patience is Key
When it comes to priming your vape coil, patience is key. Rushing the priming process can lead to dry hits, which can be unpleasant and even harmful. Take your time and make sure that the coil is fully saturated with e-liquid before you start vaping. This will ensure that you get the best possible flavor and vapor production from your device.
Avoiding Dry Hits
One of the most important things to remember when priming your vape coil is to avoid dry hits. Dry hits occur when the cotton in your coil is not fully saturated with e-liquid. This can cause the cotton to burn, which can result in a harsh and unpleasant taste. To avoid dry hits, make sure that you saturate the cotton in your coil with e-liquid before you start vaping. You can do this by adding a few drops of e-liquid directly onto the cotton, or by filling your tank and letting it sit for a few minutes to allow the e-liquid to fully saturate the cotton.
Maintenance of Vape Coil
Proper maintenance of your vape coil can also help to ensure a better priming experience. It’s important to clean your coil regularly to remove any buildup of e-liquid or residue that can affect the performance of your device. You can do this by rinsing your coil under warm water and letting it dry completely before using it again. Additionally, replacing your coil regularly can help to ensure that you always get the best possible flavor and vapor production from your device.
Potential Issues and Solutions
Leaking Issues
One of the most common issues that vapers experience is leaking. This can be caused by a variety of factors, including a poorly installed coil, overfilling the tank, or a damaged O-ring. If you are experiencing leaking, the first thing you should do is check your coil to make sure it is installed correctly. If it is not, reinstall it and make sure it is snug. If the coil is installed correctly, check the tank to make sure you have not overfilled it. If you have, remove some of the e-liquid and try again. If neither of these solutions work, check the O-ring for damage. If it is damaged, replace it and try again.
Burnt Taste
Another common issue that vapers experience is a burnt taste. This can be caused by a variety of factors, including a dry wick, a dirty coil, or a coil that is nearing the end of its life. If you are experiencing a burnt taste, the first thing you should do is check your wick to make sure it is properly saturated with e-liquid. If it is not, add more e-liquid to the tank and try again. If the wick is properly saturated, check the coil for dirt or debris. If it is dirty, clean it and try again. If neither of these solutions work, it may be time to replace the coil.
Inconsistent Vaping Experience
If you are experiencing an inconsistent vaping experience, this can be caused by a variety of factors, including a poorly installed coil, a low battery, or a damaged tank. If you are experiencing an inconsistent vaping experience, the first thing you should do is check your coil to make sure it is installed correctly. If it is not, reinstall it and make sure it is snug. If the coil is installed correctly, check your battery to make sure it is fully charged. If it is not, charge it and try again. If neither of these solutions work, check your tank for damage. If it is damaged, replace it and try again.
Frequently Asked Questions
How to change a vape coil with juice in it?
If you need to change your vape coil but there’s still juice in the tank, you’ll need to be careful not to spill it. First, remove the tank from the vape mod. Then, use a paper towel or cloth to wipe the outside of the tank and any juice that may have leaked out. Next, carefully unscrew the old coil from the bottom of the tank and dispose of it. Take the new coil and screw it into the bottom of the tank. Finally, fill the tank with e-liquid and let it sit for a few minutes to prime the new coil before using it.
How to prime a vape cartridge?
Priming a vape cartridge is similar to priming a vape coil. First, locate the exposed cotton wick on the side of the cartridge. Place a few drops of e-liquid on one of the white cotton spots inside the cartridge. Then, let the cartridge sit for a few minutes to allow the e-liquid to soak into the wick. Once the wick is fully saturated, the cartridge is ready to be used.
How long to let vape coil soak?
It’s recommended to let a vape coil soak for at least 5-10 minutes before using it to ensure that the wick is fully saturated with e-liquid. However, some coils may require longer soaking times, so it’s always a good idea to check the instructions that came with your specific coil for recommended soaking times.
How to prime a vape pen?
To prime a vape pen, first, make sure the tank is completely empty. Then, remove the old coil from the bottom of the tank and dispose of it. Take the new coil and screw it into the bottom of the tank. Next, fill the tank with e-liquid and let it sit for a few minutes to prime the new coil before using it.
How to prime a disposable vape?
Unfortunately, disposable vapes cannot be primed. Once the e-liquid in a disposable vape is used up, the device should be disposed of and replaced with a new one.
What happens if you don’t prime your vape coil?
If you don’t prime your vape coil, you run the risk of a dry hit and a burnt coil before you even get started. Priming the coil ensures that the wick is fully saturated with e-liquid, which helps to prevent dry hits and extend the life of your coil.

