Cleaning your vape tank is an important part of maintaining your vaping device. Over time, e-liquids can build up in your tank, affecting the flavor of your vape and potentially damaging your device. Proper cleaning can help extend the lifespan of your vape tank and improve your vaping experience.
There are several methods for cleaning a vape tank, and the best one for you will depend on the type of tank you have and how dirty it is. Some basic steps include emptying out any remaining e-liquid, rinsing the tank under warm running water, and letting the parts air dry until no water or condensation is visible. For more stubborn residue, you may need to use a small brush or soak the parts in alcohol.
It’s important to clean your vape tank regularly, especially if you frequently switch flavors or use sweet or thick e-liquids. Neglecting to clean your tank can lead to a buildup of gunk that can affect the performance of your device and potentially harm your health. With the right tools and a little bit of know-how, you can keep your vape tank clean and functioning properly for a long time.
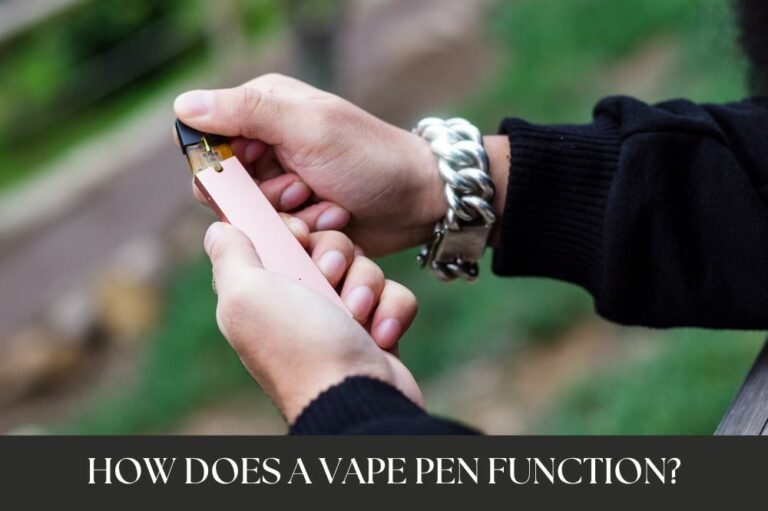
Understanding Your Vape Tank
As a vape user, understanding your vape tank is essential to maintaining its performance and longevity. A vape tank is a component of your vape device that holds the e-liquid and houses the heating coil. When you inhale, the coil heats the e-liquid, producing vapor that you inhale.
There are several types of vape tanks available in the market, and each has its own unique features and benefits. Some tanks are designed for sub-ohm vaping, while others are better suited for mouth-to-lung vaping. It’s essential to choose a tank that suits your vaping style and preferences.
Vape tanks are made up of different parts, including the base, chimney, glass tube, and drip tip. The base houses the heating coil and the wick, while the chimney connects the base to the drip tip. The glass tube holds the e-liquid and allows you to see how much e-liquid is left in your tank. The drip tip is the part of the tank that you put your mouth on to inhale the vapor.
It’s important to note that vape tanks require regular maintenance to ensure optimal performance. Over time, e-liquid residue can build up on the coil and other parts of the tank, affecting the flavor and vapor production. Cleaning your tank regularly can help prevent this buildup and extend the life of your tank.
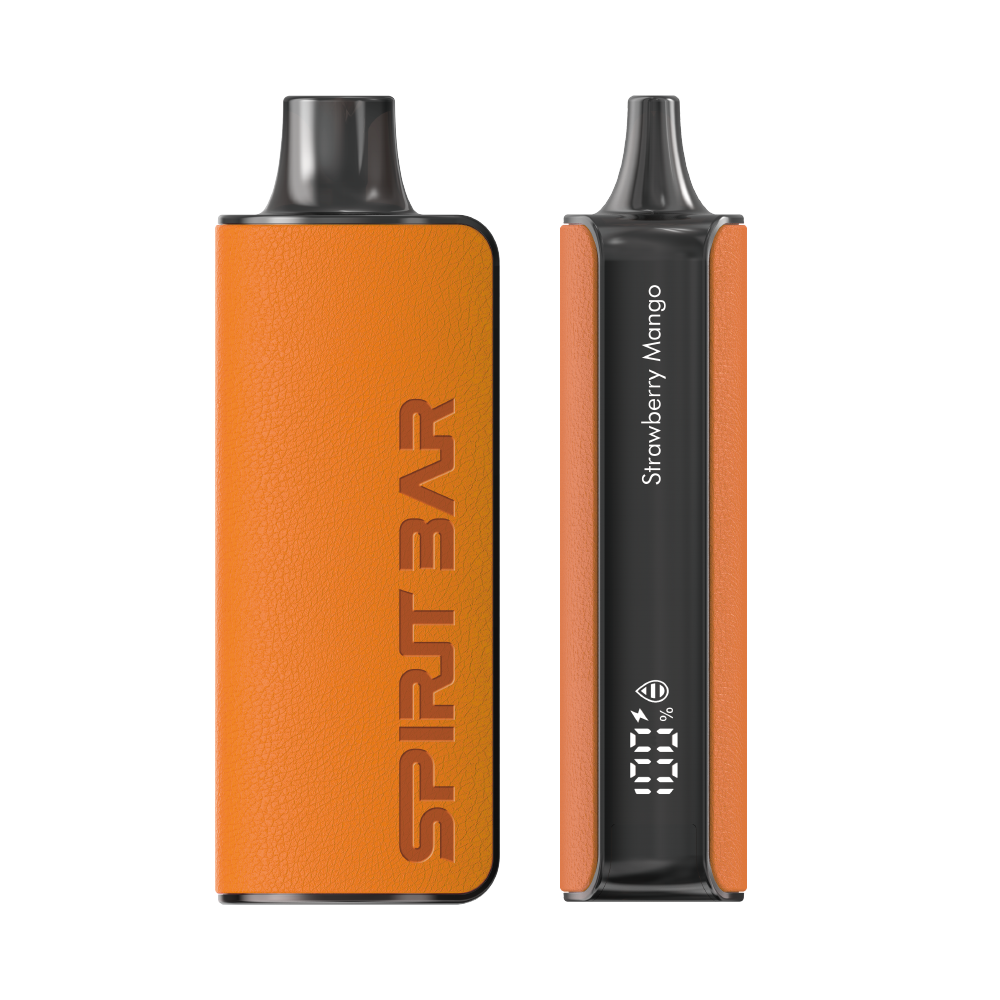
SPIRITBAR Katana BP10000
- Slender, leather-textured body reminiscent of a katana handle for an authentic samurai feel
- Unique samurai-inspired e-liquid flavor - fruity yet not too sweet, with a luxurious, elegant aroma
- Powerful 650mAh rechargeable battery for extended vaping time
- Large 18ml e-liquid capacity and 10,000 puff capacity
- Advanced mesh coil and e-liquid & power display screens for optimal vaping experience
The special juice captures the essence of the samurai spirit with its rich, smoothly pulsating flavor that brings new satisfaction with every puff. The device's slender, leather-textured design evokes the grip of a samurai's katana, making this product a perfect choice for beginner vapors.
In the next section, we’ll discuss how to clean your vape tank and coils.
Preparation Before Cleaning
Before starting to clean your vape tank, it is important to prepare everything you need. This will help ensure that the cleaning process goes smoothly and that you don’t forget any important steps.
First, gather all the necessary materials. You will need warm water, a small bowl or cup, dish soap, paper towels, and a toothbrush or other small brush. You may also want to have rubbing alcohol or vinegar on hand for more thorough cleaning.
Next, disassemble your vape tank. Take it apart carefully, making sure to keep track of all the pieces. If you’re not sure how to do this, consult your vape’s user manual or search online for instructions.
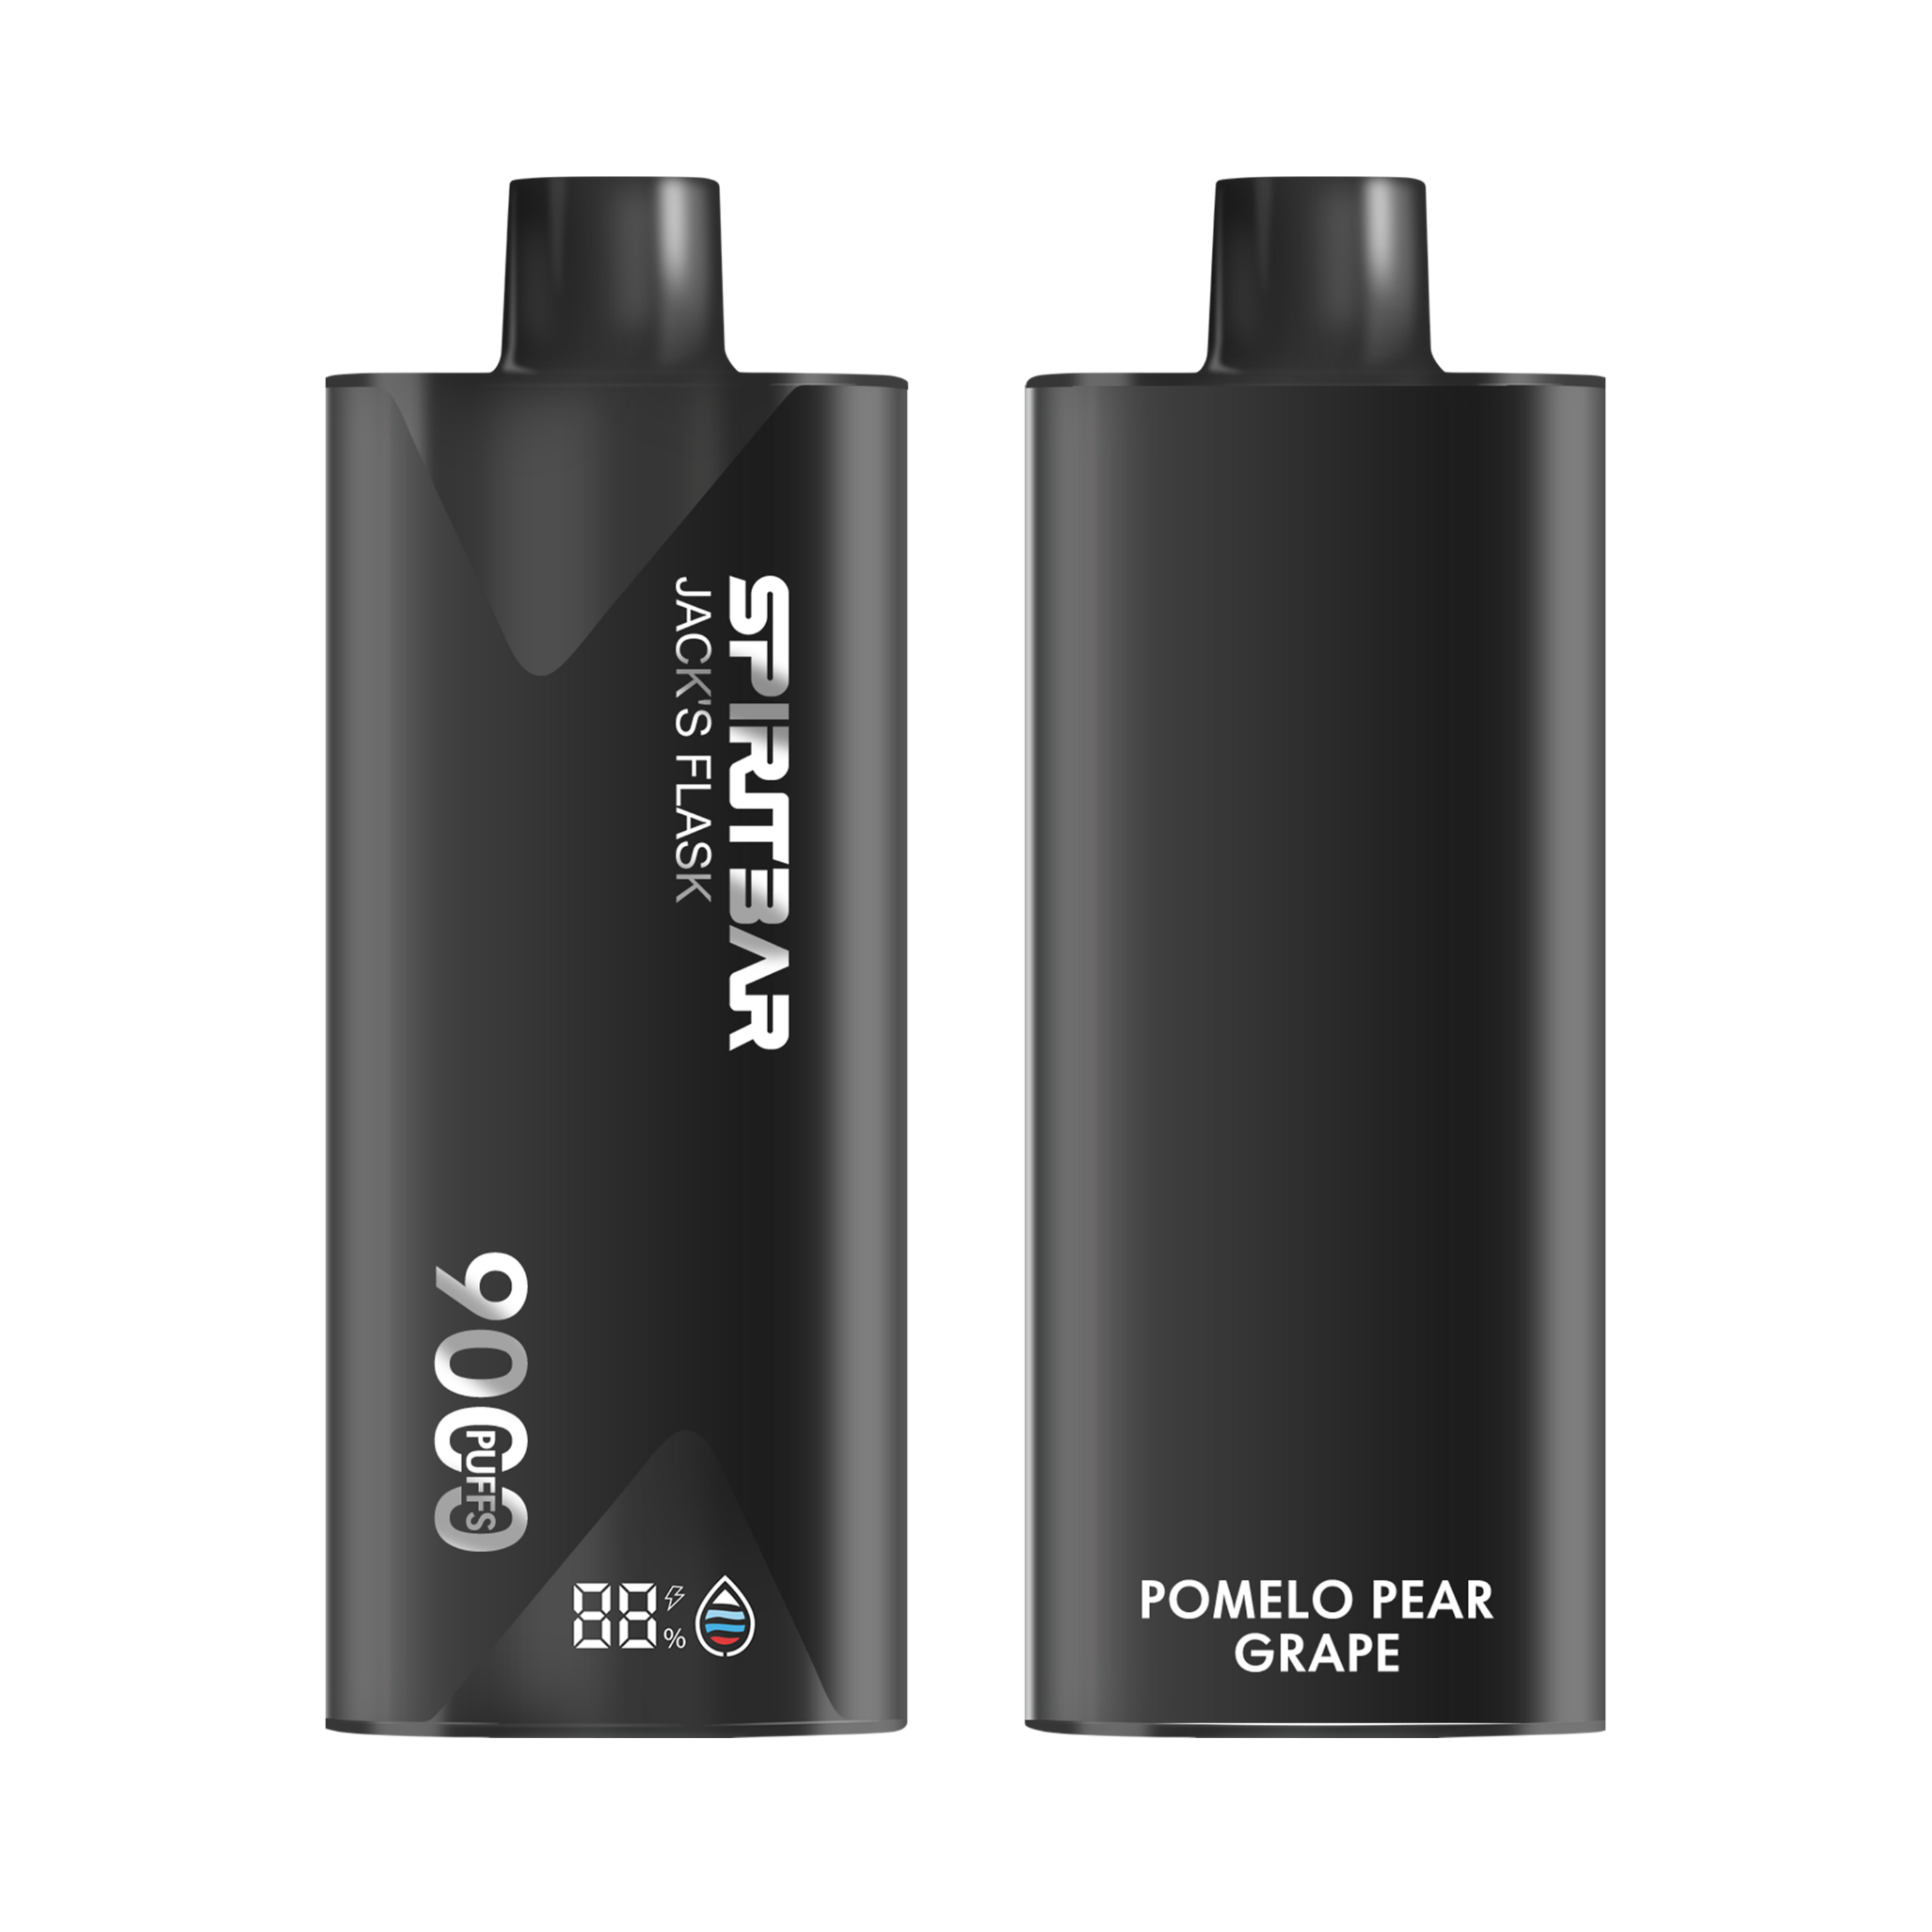
SPIRITBAR Jack’s Flask 9000 Puffs
- Stylish pirate flask-shaped body providing an exciting vaping experience
- Delivering up to 9000 puffs per device
- 20ml e-liquid capacity with 50mg nicotine strength for satisfying throat hit
- Specialized pirate-themed e-juice flavors for rich, swirling taste
- Premium mesh coil optimizes flavor profile for maximum vaping enjoyment
This disposable vape captures the daring spirit of the high seas with its flask styling and signature pirate e-juice flavors. The extraordinary battery life provides 9000 indulgent puffs for extended vaping pleasure. Live boldly and freely with the Jack's Flask - a legendary vaping experience fit for a pirate's adventures.
Once your tank is disassembled, rinse each piece under warm running water. This will help remove any loose debris or residue. Be sure to rinse thoroughly, making sure all parts are completely clean.
After rinsing, fill a small bowl or cup with warm water and a few drops of dish soap. Place all the tank parts (except for the coil) in the soapy water and let them soak for a few minutes. This will help loosen any stubborn residue.
Finally, use a toothbrush or other small brush to scrub each part of the tank. Be gentle but thorough, making sure to clean every nook and cranny. Rinse each piece thoroughly under warm running water to remove any remaining soap or residue.
With these steps completed, you’re ready to move on to the actual cleaning process.
Step by Step Guide to Cleaning
Cleaning your vape tank is an important part of maintaining your device and ensuring a great vaping experience. Here is a step-by-step guide to cleaning your vape tank:
- Disassemble the Tank: The first step is to disassemble your vape tank. Remove the mouthpiece, the glass, the coil, and any other removable parts. Make sure to keep them organized so you can easily reassemble your tank later.
- Rinse the Tank: Rinse the tank under warm running water. Use your fingers or a soft-bristled brush to gently scrub away any dirt or residue. Be careful not to damage any of the delicate parts.
- Soak the Tank: Fill a bowl with warm water and add a few drops of dish soap. Place the tank and its parts in the bowl and let them soak for 30 minutes. This will help to loosen any stubborn residue.
- Scrub the Tank: After the tank has soaked, use a soft-bristled brush to scrub away any remaining residue. Focus on areas where residue tends to accumulate, such as the corners and edges of the tank.
- Rinse Again: Rinse the tank and its parts under warm running water to remove any soap residue. Make sure to rinse thoroughly to prevent any lingering soap from affecting the flavor of your e-juice.
- Dry the Tank: Use a clean towel to dry the tank and its parts. Make sure to dry them thoroughly to prevent any water from getting into your device.
- Reassemble the Tank: Once the tank and its parts are completely dry, reassemble your tank. Make sure to screw everything in tightly to prevent any leaks.
By following these simple steps, you can keep your vape tank clean and in great condition for a long time.
Disassembling the Vape Tank
As someone who vapes, it’s important to know how to properly disassemble your vape tank for cleaning. In this section, I will guide you through the process of removing the tank and taking apart its components.
Removing the Tank
The first step in disassembling your vape tank is to remove it from your device. Depending on the design of your device, you may need to unscrew the tank from the base or top of your clearomizer. Be sure to do this carefully, as some tanks can be fragile and prone to damage.
Taking Apart the Components
Once the tank is removed, you can begin taking apart its components. Some modern vape tanks have coils that screw into both the top and bottom hardware. To remove the atomizer coil, simply unscrew it by twisting counterclockwise.
To remove the glass, wiggle it gently to slide it off of the silicone or rubber o-ring holding it in place. Be careful not to apply too much force, as this could cause the glass to crack or break.
SPIRITBAR Katana BP10000
- Slender, leather-textured body reminiscent of a katana handle for an authentic samurai feel
- Unique samurai-inspired e-liquid flavor - fruity yet not too sweet, with a luxurious, elegant aroma
- Powerful 650mAh rechargeable battery for extended vaping time
- Large 18ml e-liquid capacity and 10,000 puff capacity
- Advanced mesh coil and e-liquid & power display screens for optimal vaping experience
The special juice captures the essence of the samurai spirit with its rich, smoothly pulsating flavor that brings new satisfaction with every puff. The device's slender, leather-textured design evokes the grip of a samurai's katana, making this product a perfect choice for beginner vapors.
Finally, to remove the mouthpiece, lift it straight up to pop it out of its socket. Again, be gentle to avoid damaging the mouthpiece or the tank itself.
By following these simple steps, you can easily disassemble your vape tank for cleaning and maintenance.
Cleaning Process
Cleaning your vape tank is an important part of maintaining your device’s performance. In this section, I will explain the steps you can take to clean your vape tank properly.
Rinsing the Components
The first step in cleaning your vape tank is to disassemble it. Remove the tank from the device and take it apart into its individual components. Rinse each component separately under warm running water. You can use a small brush or toothbrush to scrub any stubborn residue or dirt. After rinsing, dry each component with a paper towel or cloth.
Deep Cleaning Techniques
If you notice that your tank has a significant buildup of residue or dirt, a quick rinse may not be enough to clean it. In this case, you can try one of the following deep cleaning techniques:
- Soaking in alcohol: You can soak your tank components in high-proof, unflavored alcohol for a few hours. This will help dissolve any buildup and make it easier to clean. After soaking, rinse the components under warm water and dry them thoroughly.
- Ultrasonic cleaning: You can also use an ultrasonic cleaner to deep clean your tank components. This is a special device that uses high-frequency sound waves to agitate the liquid and remove dirt and buildup. Simply place your tank components in the ultrasonic cleaner with some water and turn it on for a few minutes.
Remember to always dry your tank components thoroughly before reassembling your device. Cleaning your vape tank regularly will help maintain its performance and prolong its lifespan.
Reassembling the Vape Tank
Putting the Components Back Together
Once all the components of the vape tank are clean and dry, it’s time to put them back together. First, locate the O-rings and make sure they are in good condition. If they are worn or damaged, replace them with new ones. Next, place the O-rings back into their respective grooves.
Now, take the coil and screw it onto the base of the tank. Make sure it is tightened snugly, but be careful not to over-tighten it. Next, insert the glass tube into the base of the tank, making sure it is seated properly. Finally, screw the top cap onto the base of the tank, making sure it is tightened snugly.
Reattaching the Tank
With the tank reassembled, it’s time to reattach it to the mod. First, make sure the mod is turned off. Next, screw the base of the tank onto the mod, making sure it is tightened snugly. Finally, fill the tank with your favorite e-liquid and you’re ready to start vaping again.
It’s important to note that when reattaching the tank to the mod, you should not over-tighten it. Doing so can damage the threads on both the tank and the mod, making it difficult or impossible to remove the tank in the future.
Post-Cleaning Maintenance
After cleaning your vape tank, it’s important to perform regular maintenance to ensure its longevity and optimal performance. Here are some tips on post-cleaning maintenance:
Checking for Damage
Before using your vape tank again, it’s important to check for any signs of damage. Inspect the tank for cracks, leaks, or any other issues that could affect its performance. If you notice any damage, it’s best to replace the tank to prevent any potential safety hazards.
Regular Cleaning Schedule
To keep your vape tank in good condition, it’s important to establish a regular cleaning schedule. Depending on how frequently you use your vape, you may need to clean the tank every few days or every week.
Here are some tips on establishing a regular cleaning schedule:
- Keep a calendar or reminder to clean your tank on a regular basis.
- Consider cleaning your tank every time you change flavors to prevent flavor contamination.
- Use a mild soap or cleaning solution to prevent damage to the tank.
- Avoid using harsh chemicals or abrasive materials when cleaning the tank.
- Always rinse the tank thoroughly with water after cleaning to remove any residue.
By following these tips, you can keep your vape tank in good condition and enjoy a clean, flavorful vaping experience.
Frequently Asked Questions
How do I properly clean my Vaporesso vape tank?
To properly clean a Vaporesso vape tank, first empty out any e-liquid still in the tank. Next, rinse away any remaining e-liquid from the tank by holding the clearomizer under warm running water. Then, use a Q-tip or a soft-bristled brush to clean the inside of the tank. Finally, let the tank air dry before reassembling it.
What is the best way to clean a Geek Vape tank?
To clean a Geek Vape tank, first disassemble the tank and remove the coil. Dispose of any remaining e-liquid and rinse the tank with warm water. Then, use a soft-bristled brush or a Q-tip to clean the inside of the tank. Once the tank is clean, let it air dry before reassembling it.
How do I clean my vape pod?
To clean a vape pod, first remove the pod from the device and empty any remaining e-liquid. Then, rinse the pod with warm water and use a soft-bristled brush or a Q-tip to clean the inside of the pod. Once the pod is clean, let it air dry before refilling it with e-liquid.
What is the proper way to clean a vape atomizer?
To clean a vape atomizer, first disassemble the atomizer and remove the coil. Dispose of any remaining e-liquid and rinse the atomizer with warm water. Then, use a soft-bristled brush or a Q-tip to clean the inside of the atomizer. Once the atomizer is clean, let it air dry before reassembling it.
How do I clean my vape tank and coil?
To clean a vape tank and coil, first disassemble the tank and remove the coil. Dispose of any remaining e-liquid and rinse the tank and coil with warm water. Then, use a soft-bristled brush or a Q-tip to clean the inside of the tank and the coil. Once the tank and coil are clean, let them air dry before reassembling them.
How often should I clean my vape tank?
It is recommended to clean your vape tank at least once a week to prevent buildup and maintain optimal performance. However, if you notice any decrease in flavor or vapor production, it may be necessary to clean your tank more frequently.