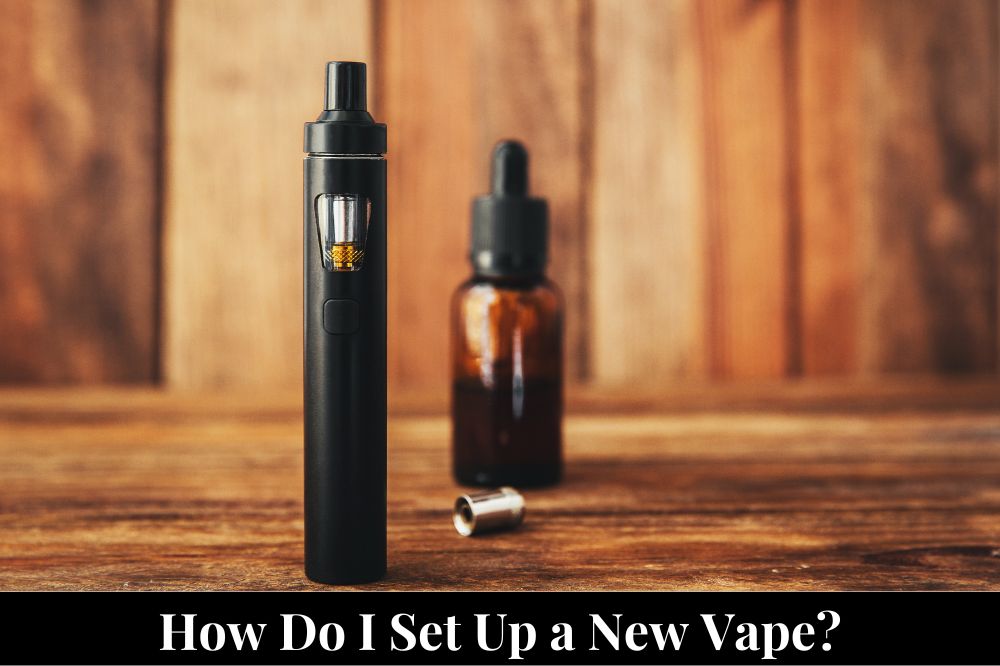
So, you’ve decided to take the plunge and start vaping. Congratulations! Vaping can be a great way to quit smoking or just enjoy a new hobby. But now that you have your shiny new vape in hand, you may be wondering, “How do I set this thing up?” Don’t worry, we’ve got you covered.
Setting up a new vape can seem daunting at first, but it’s actually quite simple. The first step is to familiarize yourself with your new device. Take a look at the user manual and safety guide that came with your vape. This will give you a good understanding of how your device works and how to use it safely.
Next, you’ll want to charge your device fully using the supplied charging cable. Once your device is charged, you’re ready to fill your tank with e-juice and start vaping. But don’t worry if you’re not sure how to do this – we’ll walk you through the process step by step. So sit back, relax, and get ready to become a vaping pro in no time.
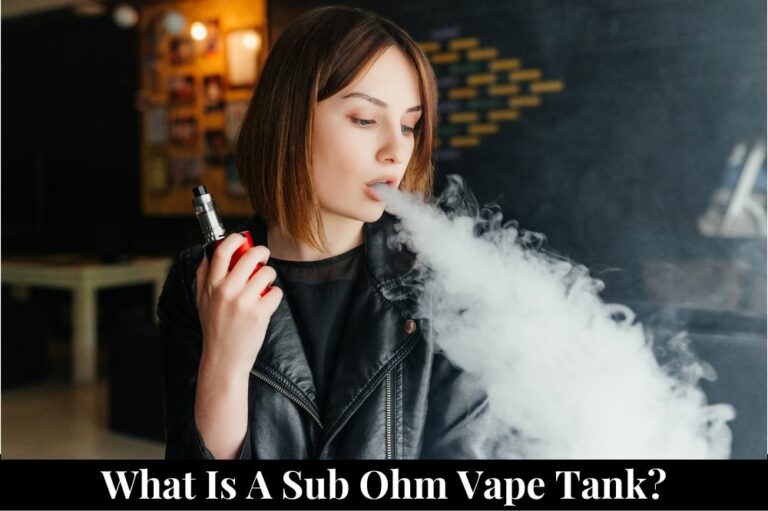
The Vape Basics
So, you’ve decided to enter the world of vaping. Congratulations! You’re about to embark on a journey of flavors, clouds, and nicotine satisfaction. But before you get started, there are a few basics you need to know.
First, let’s talk about the components of a vaping device. You have the mouthpiece, which is where you inhale the vapor. Then there’s the tank, which holds the e-liquid. The coil heats up the e-liquid, turning it into vapor. The battery powers the device, and the charging port is where you plug it in to charge.
Now that you know the parts, let’s talk about how to set up your new vape. The first step is to charge the battery. Most devices come with a USB cable that you can plug into your computer or a wall adapter. Once it’s fully charged, you can attach the tank to the battery. Make sure it’s screwed on tightly.
Next, you need to fill the tank with e-liquid. This is where things can get a little messy, so be careful. Unscrew the top of the tank and fill it up with your favorite flavor. Don’t overfill it, or you’ll end up with e-liquid all over your hands.
Once the tank is filled, screw the top back on and let it sit for a few minutes. This allows the e-liquid to soak into the coil. After a few minutes, you’re ready to start vaping.
Press the power button and inhale through the mouthpiece. You should start to see vapor coming out. Congratulations, you’re now a vaper!
Remember to clean your device regularly and replace the coil every few weeks. And most importantly, have fun exploring all the different flavors and devices out there. Happy vaping!
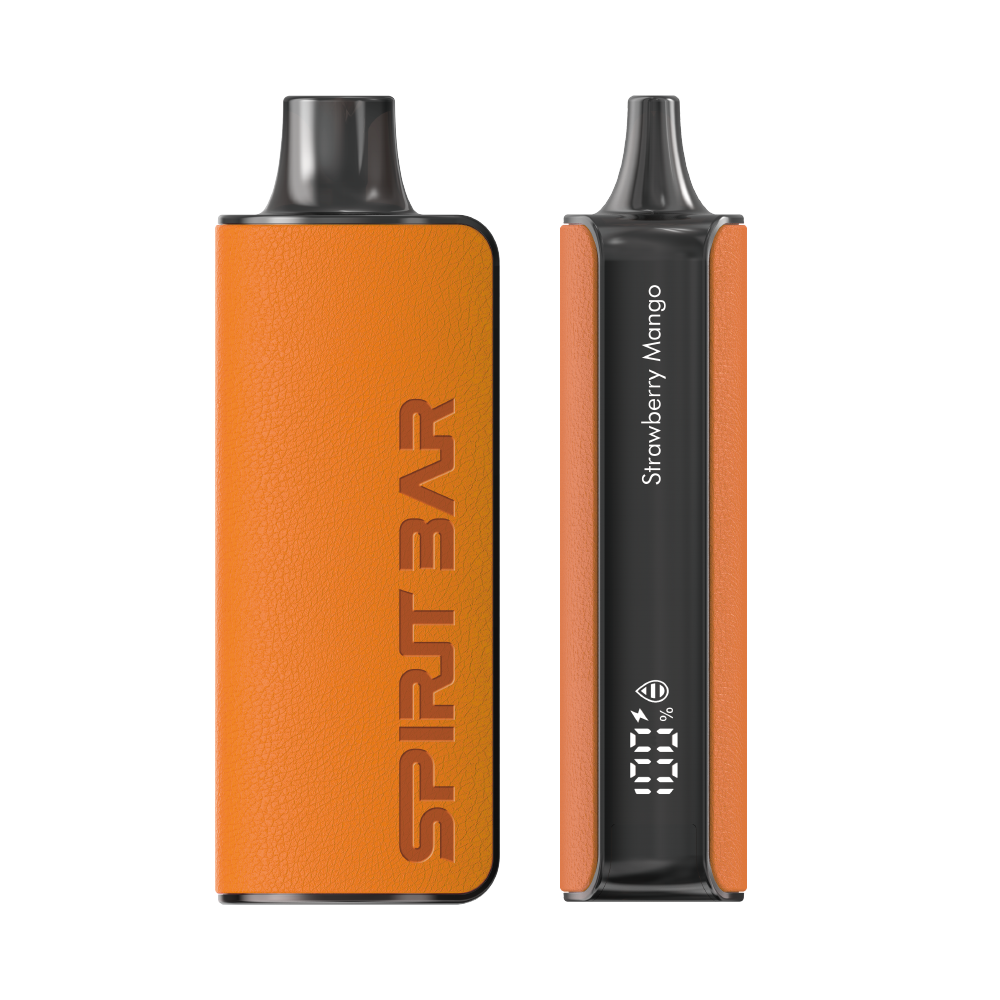
SPIRITBAR Katana BP10000
- Slender, leather-textured body reminiscent of a katana handle for an authentic samurai feel
- Unique samurai-inspired e-liquid flavor - fruity yet not too sweet, with a luxurious, elegant aroma
- Powerful 650mAh rechargeable battery for extended vaping time
- Large 18ml e-liquid capacity and 10,000 puff capacity
- Advanced mesh coil and e-liquid & power display screens for optimal vaping experience
The special juice captures the essence of the samurai spirit with its rich, smoothly pulsating flavor that brings new satisfaction with every puff. The device's slender, leather-textured design evokes the grip of a samurai's katana, making this product a perfect choice for beginner vapors.
Choosing Your Vape
So, you’ve decided to start vaping. Congrats! But with so many different types of vapes out there, how do you choose the right one for you? Here are some things to consider:
1. Your Vaping Style
Are you a cloud chaser or a flavor chaser? Do you prefer mouth-to-lung hits or direct-to-lung hits? These are all things to consider when choosing your vape. Different vapes are designed for different styles of vaping, so make sure you choose one that matches your preferences.
2. Your Budget
Vapes come in all shapes and sizes, and prices can vary widely. Before you start shopping, decide how much you’re willing to spend. Keep in mind that cheaper vapes may not last as long or perform as well as more expensive ones.
3. Your Experience Level
If you’re new to vaping, you might want to start with a simple, easy-to-use vape. All-in-one devices are a good choice for beginners, as they combine the battery, atomizer, and tank into a single unit. If you’re more experienced, you might want to try a more advanced vape with customizable settings.
4. Your Lifestyle
Do you want a vape that’s easy to carry around with you, or one that’s more stationary? If you’re always on the go, a smaller, portable vape might be a better choice. If you’re mostly vaping at home, a larger, more powerful vape might be more your style.
5. Your Personal Preferences
At the end of the day, the most important thing is that you choose a vape that you enjoy using. Do you prefer a certain brand or color? Do you like a certain type of material, like stainless steel or glass? These are all things to consider when choosing your vape.
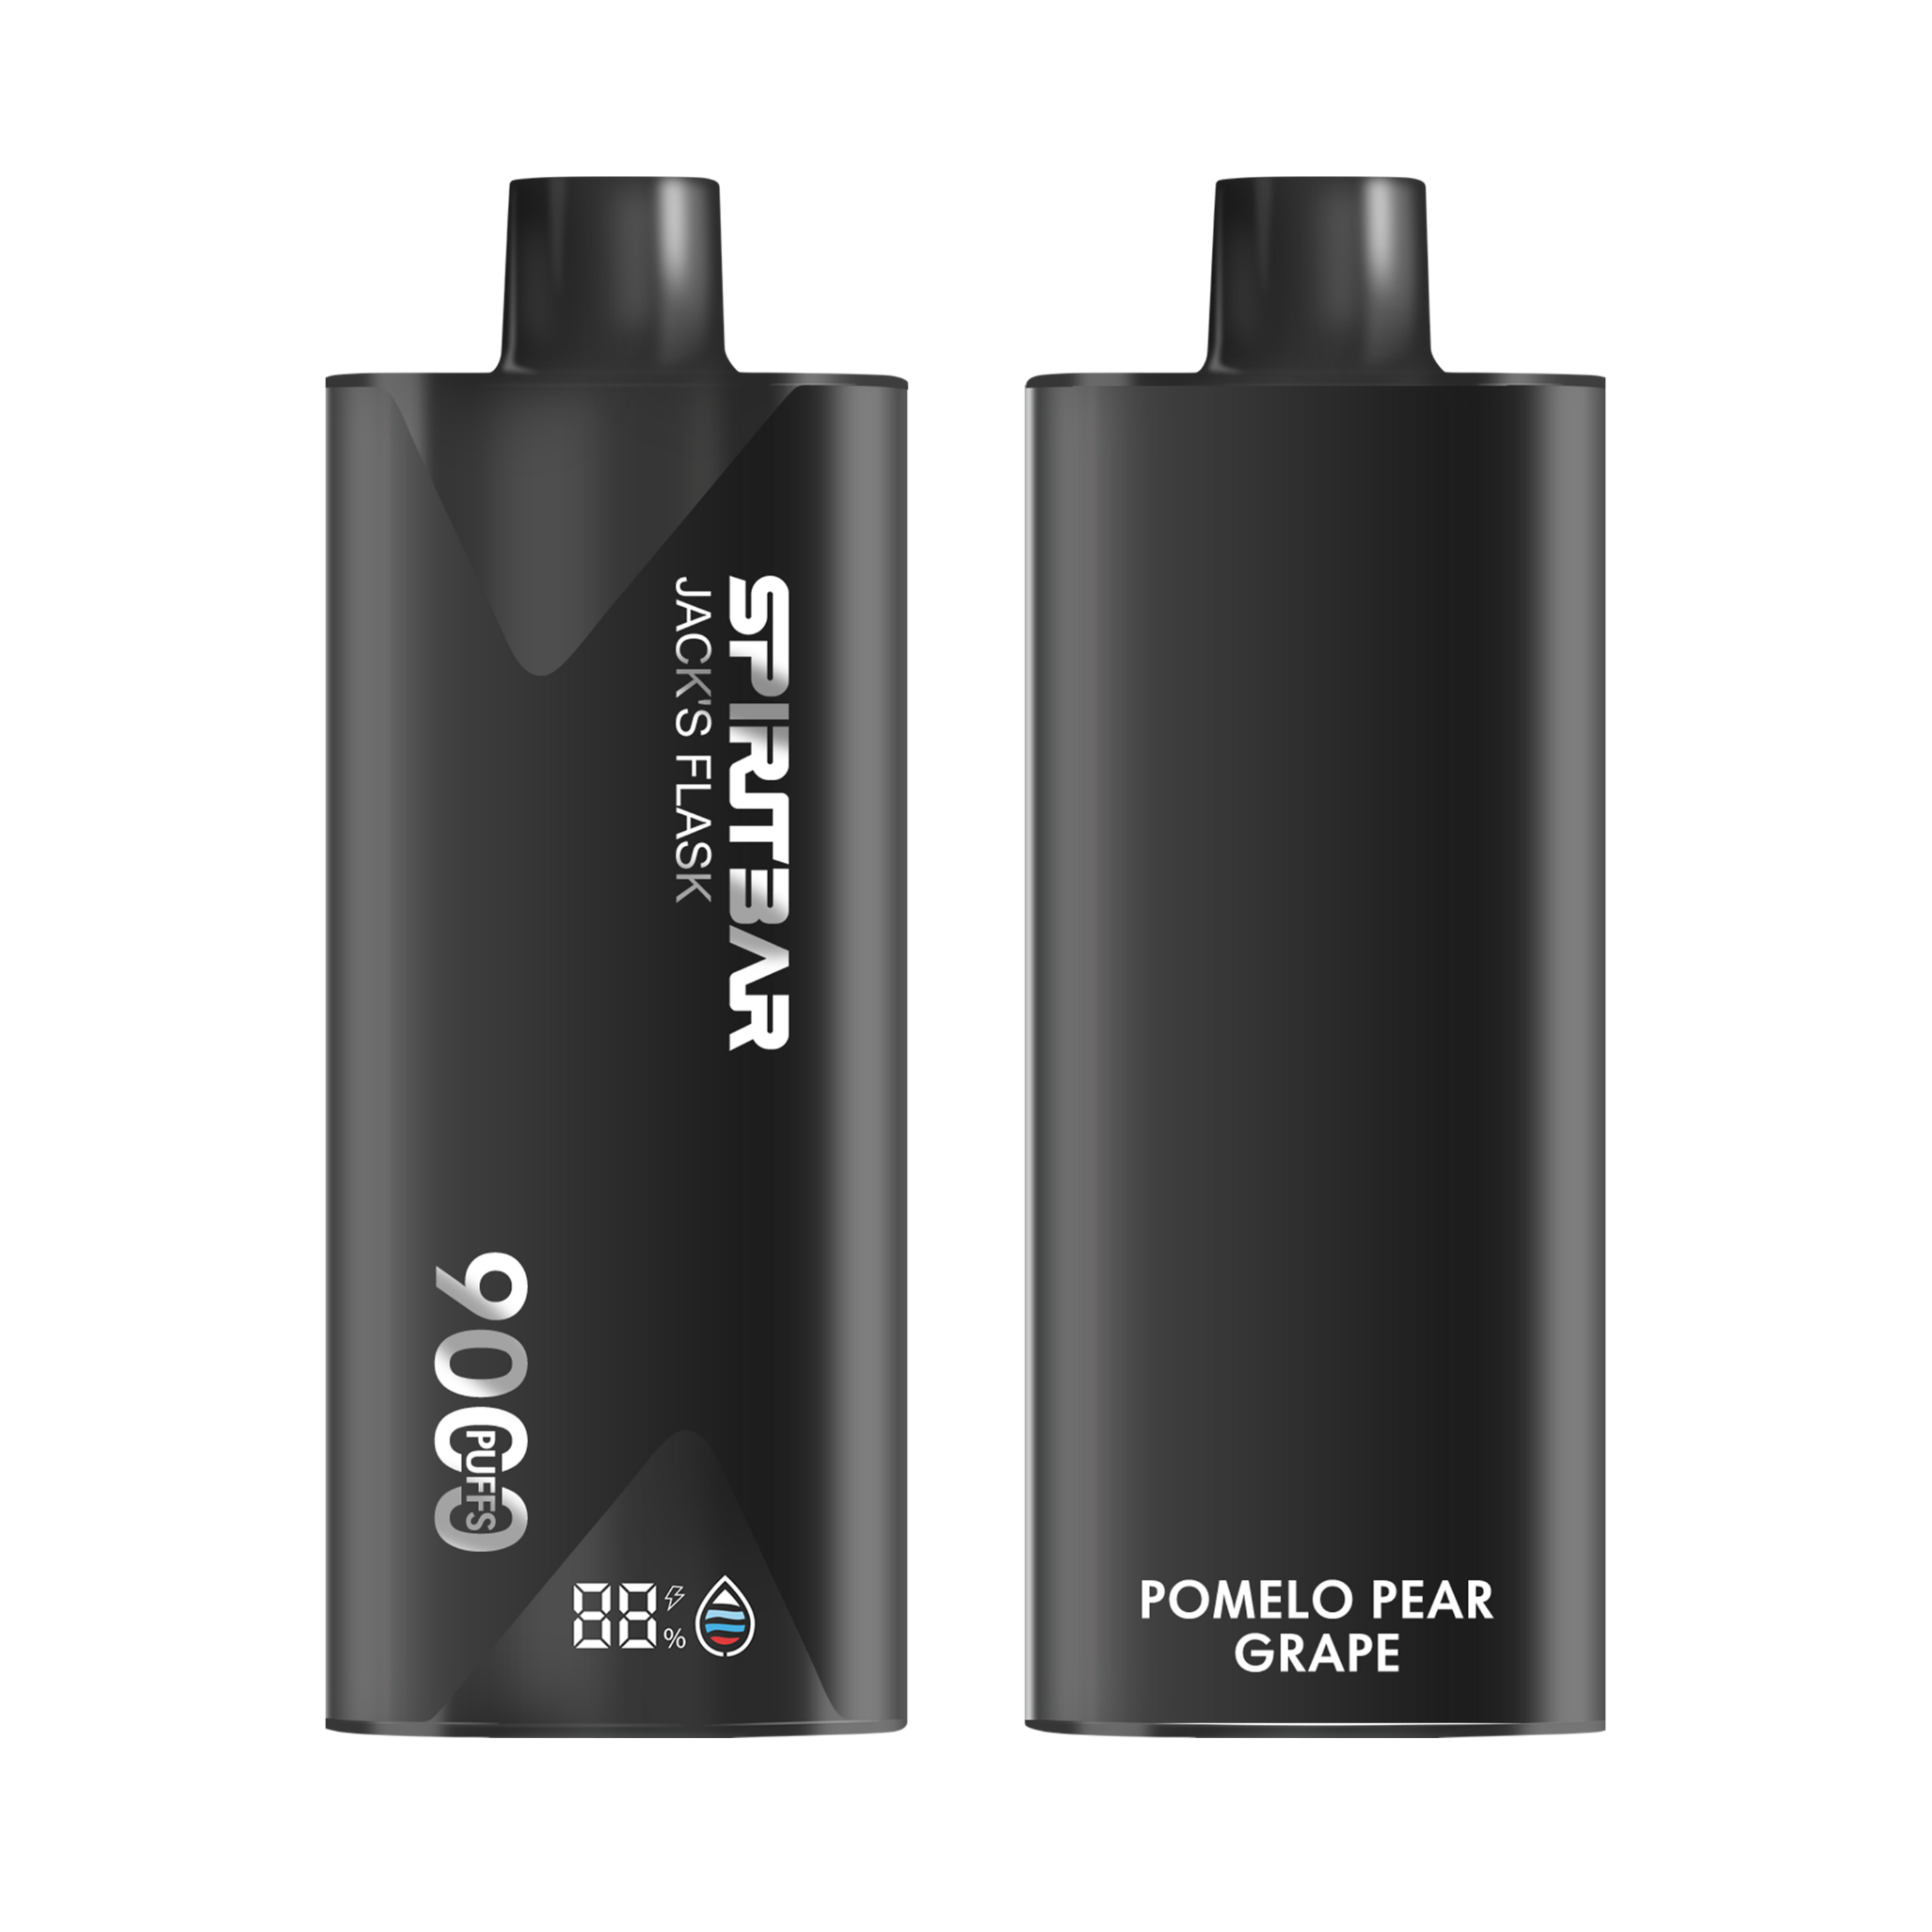
SPIRITBAR Jack’s Flask 9000 Puffs
- Stylish pirate flask-shaped body providing an exciting vaping experience
- Delivering up to 9000 puffs per device
- 20ml e-liquid capacity with 50mg nicotine strength for satisfying throat hit
- Specialized pirate-themed e-juice flavors for rich, swirling taste
- Premium mesh coil optimizes flavor profile for maximum vaping enjoyment
This disposable vape captures the daring spirit of the high seas with its flask styling and signature pirate e-juice flavors. The extraordinary battery life provides 9000 indulgent puffs for extended vaping pleasure. Live boldly and freely with the Jack's Flask - a legendary vaping experience fit for a pirate's adventures.
Remember, there’s no one-size-fits-all answer when it comes to choosing a vape. Take your time, do your research, and choose the one that’s right for you. Happy vaping!
Parts of a Vape
So, you’ve got a new vape and you’re excited to start using it. But before you can start blowing clouds, you need to know the different parts of your vape. Here are the key components of a vape that you need to be familiar with:
Atomizer
The atomizer is the part of your vape that turns the e-liquid into vapor. It contains a heating element that vaporizes the e-liquid. There are different types of atomizers, including rebuildable atomizers (RBAs) and sub-ohm tanks. RBAs are for experienced vapers who like to build their own coils, while sub-ohm tanks are easier to use and are a good option for beginners.
Battery
The battery is what powers your vape. It’s essential to choose a battery that is compatible with your vape and has enough power to last for a full day of vaping. Some vapes come with built-in batteries, while others require external batteries. Make sure you choose a battery that has the right capacity and discharge rate for your vape.
Tank
The tank is where you store your e-liquid. It’s important to choose a tank that is compatible with your vape and has the right capacity for your needs. Tanks come in different sizes and materials, including glass and plastic. Some tanks have adjustable airflow, which allows you to customize the amount of vapor you produce.
Coil
The coil is the part of your vape that heats up the e-liquid and turns it into vapor. Coils come in different materials, including kanthal, stainless steel, and nickel. The resistance of your coil affects the amount of vapor and flavor you produce. Lower resistance coils produce more vapor, while higher resistance coils produce more flavor.
Now that you know the different parts of your vape, you’re ready to start using it. Remember to always read the instructions that come with your vape and follow them carefully. With a little practice, you’ll be blowing clouds like a pro in no time!
Assembling Your Vape
So, you’ve got your new vape kit in hand and you’re ready to start vaping. Here are a few steps to follow to assemble your vape:
- Unboxing and Placement: Take your vape device out of the box and place it on a flat surface in front of you. Make sure you have all the parts, including the battery, tank, and coil.
- Fill your Tank: Determine if your device is a top-fill or bottom-fill system. Nowadays, most devices are top-fill, but you can find this information in the product packaging or manual. Once you know how to fill your tank, add your e-liquid slowly and carefully. Don’t overfill it, or you might end up with a mess on your hands.
- Screw the Pieces Together: Once your tank is filled, screw it onto the battery. Make sure everything is screwed in tightly, but don’t over-tighten it. You don’t want to damage any of the components.
- Prime Your Coil: Before you start vaping, you need to prime your coil. This means saturating the wick with e-liquid to prevent it from burning out too quickly. To do this, add a few drops of e-liquid directly onto the coil and let it sit for a few minutes.
- Turn It On: Now it’s time to turn on your vape. Most devices require you to press the power button five times quickly. Once it’s on, you can adjust the settings to your liking.
- Start Vaping: Congratulations, you’ve assembled your vape and you’re ready to start vaping. Take a few puffs and enjoy the flavor of your e-liquid.
Remember, if you’re ever unsure about how to assemble your vape, consult the product manual or ask for help from a knowledgeable friend or vape shop employee. Happy vaping!
Filling the Tank
So, you’ve got your brand new vape and you’re ready to start vaping like a pro. But wait, you need to fill the tank first! Don’t worry, it’s not rocket science. Here are the steps to follow:
- Disassemble the tank: Before you start filling your tank, you need to disassemble it. Unscrew the airflow base located at the bottom of the tank and then pull out the coil from inside. Leave the tank, top connector, and mouthpiece attached for now.
- Determine if your tank is top-fill or bottom-fill: Nowadays, most tanks are top-fill, but you can find this information in the product packaging or manual. If your tank is top-fill, open the filling cap by unscrewing the top section of your tank. If your tank is bottom-fill, remove the base of the tank by unscrewing it.
- Fill the tank: Using your e-juice’s dropper or a unicorn bottle, fill up the tank. Be careful not to overfill it. You want to leave a little bit of space at the top to prevent leakage.
- Reassemble the tank: Once you’ve filled the tank, reassemble it by putting the coil back in and screwing the airflow base back on. Make sure everything is tightened properly.
- Prime the coil: Priming the coil is important to prevent dry hits and prolong the life of your coil. Saturate the cotton wick with a few drops of e-juice by placing the drops on the visible cotton wick. Repeat the process until the wicking looks saturated.
- Let the tank sit for a few minutes: After you’ve filled your tank and primed the coil, let the tank sit for a few minutes to allow the e-juice to soak into the wick.
And that’s it! You’re now ready to start vaping. See, filling the tank wasn’t so hard after all.
Priming the Coil
So you’ve got your new vape and you’re ready to start using it. But before you take your first puff, you need to prime the coil. This is an important step that can make all the difference in your vaping experience.
Priming the coil means saturating the cotton wick with e-liquid before you start vaping. This helps to prevent dry hits and burnt taste, and ensures that the coil lasts longer. Here’s how to do it:
- Take the coil out of the package and screw it into the tank.
- Fill the tank with e-liquid, making sure not to overfill it.
- Wait a few minutes to allow the e-liquid to soak into the cotton wick.
- Take a few primer puffs by inhaling without pressing the fire button. This will draw e-liquid into the coil and saturate the wick even more.
- Start vaping at a low wattage and gradually increase it until you find your preferred setting.
It’s important to note that different types of coils have different priming requirements. For example, sub-ohm coils may require longer priming times than regular coils. Be sure to check the manufacturer’s instructions for specific priming recommendations.
By taking the time to prime your coil properly, you can ensure a smoother, more enjoyable vaping experience. Plus, you’ll avoid the dreaded burnt taste that can ruin your e-liquid and your coil. So don’t skip this important step – prime that coil and vape on!
Turning on Your Vape
Congratulations, you’ve got a new vape! Now it’s time to learn how to turn it on and start vaping like a pro. Here are some steps to help you get started:
SPIRITBAR Katana BP10000
- Slender, leather-textured body reminiscent of a katana handle for an authentic samurai feel
- Unique samurai-inspired e-liquid flavor - fruity yet not too sweet, with a luxurious, elegant aroma
- Powerful 650mAh rechargeable battery for extended vaping time
- Large 18ml e-liquid capacity and 10,000 puff capacity
- Advanced mesh coil and e-liquid & power display screens for optimal vaping experience
The special juice captures the essence of the samurai spirit with its rich, smoothly pulsating flavor that brings new satisfaction with every puff. The device's slender, leather-textured design evokes the grip of a samurai's katana, making this product a perfect choice for beginner vapors.
- First, make sure your vape is fully charged. You don’t want to start vaping and then run out of battery before you’re done.
- Next, attach your tank to the battery. Make sure it’s screwed on tightly to avoid any leaks.
- To turn on your vape, press the power button. Most vape pens require you to press the power button five times quickly. If you’re not sure how to turn on your specific device, refer to the user manual.
- Once your vape is turned on, you’re ready to start vaping. Place your mouth on the drip tip or mouthpiece and simultaneously press and hold the fire button while drawing from the mouthpiece. Start with a 1-2 second draw and gradually adjust the draw time based on your preferences and device performance.
- If your vape pen activation button is activated, you need to hold the button down while you draw from the mouth of the cartridge. You must ensure that you hold the button down for the entire duration of your inhale.
- Many vape batteries will automatically stop after 10-12 seconds of continuous activation. If this happens, simply release the button and wait a few seconds before taking another puff.
- Customize your vaping experience. Many new vapes allow for a customizable vaping experience. You can choose how your device looks, adjust the temperature or wattage, and even choose the type of e-juice you want to use.
Now that you know how to turn on your vape, it’s time to start experimenting with different flavors and settings. Remember to always follow the manufacturer’s instructions and use your vape responsibly. Happy vaping!
Adjusting the Settings
So, you’ve got your new vape all set up and ready to go. Congratulations! Now it’s time to adjust the settings to get the perfect vape experience for you.
First things first, let’s talk about wattage. Most vapes these days come with variable wattage settings, which is great because it allows you to customize your vape to your liking. But how do you know what wattage to set it to?
Well, there’s no one-size-fits-all answer to this question. It really depends on your personal preferences and the type of coil you’re using. As a general rule of thumb, though, you’ll want to start at a lower wattage and gradually work your way up until you find the sweet spot.
Another important setting to adjust is the airflow. This can have a big impact on the flavor and vapor production of your vape. Again, there’s no right or wrong answer here – it’s all about finding what works best for you. Experiment with different airflow settings and see what you like best.
If your vape has temperature control settings, you’ll want to play around with those as well. This can be a bit trickier to get the hang of, but it’s worth it if you’re looking for a more consistent vape experience. Just make sure you’re using the right type of coil for the temperature control setting you’ve chosen.
Finally, don’t forget about the little details. Things like the type of e-juice you’re using, the resistance of your coil, and the type of battery you’re using can all have an impact on your vape experience. Keep track of what works best for you and don’t be afraid to experiment.
In conclusion, adjusting the settings on your new vape can be a bit overwhelming at first, but with a little bit of experimentation, you’ll soon find the perfect vape experience for you. Happy vaping!
Taking the First Puff
Congratulations! You’ve unboxed and set up your new vape. Now, it’s time to take your first puff. Don’t worry if you’re feeling a bit nervous – we’ve all been there. Here are a few tips to help you take that first puff like a pro:
- Start Small: Take a small puff at first – no need to inhale to the point of bursting. Just take an easy hit and see how you feel. You can always take more puffs later.
- Inhale Slowly: Take your time between puffs; you don’t need to rush. Going slow will get you accustomed to your vape and help you practice the methods you have learned.
- Hold It In: After you inhale, hold the vapor in your mouth for a second or two before exhaling. This will help you get the most out of your vape.
- Experiment with Flavors: Vaping is all about exploring new flavors. Don’t be afraid to try something new – you might find your new favorite flavor.
- Take Breaks: If you feel lightheaded or dizzy after your first puff, take a break. Vaping is all about finding what works for you, so don’t push yourself too hard.
Remember, vaping is all about having fun and exploring new flavors. Take your time, experiment, and enjoy the experience. Happy vaping!
Cleaning and Maintenance
Let’s face it, no one likes a dirty vape. Not only can it affect the flavor of your e-juice, but it can also lead to performance issues. Luckily, cleaning your vape is a simple process that can be done in just a few minutes.
First, let’s start with the tank. To clean it, you’ll need to disassemble it and rinse it with warm water. If there’s any stubborn residue, you can use a few drops of dish soap to help break it down. Just be sure to rinse it thoroughly to avoid any soapy aftertaste. For a deeper clean, you can also use rubbing alcohol or vodka to sanitize the tank.
Next, let’s talk about the coils. Over time, they can become clogged with residue and affect the overall performance of your vape. To clean them, you can soak them in warm water or rubbing alcohol for a few hours. Just be sure to let them dry completely before reinserting them into the tank.
In addition to regular cleaning, it’s also important to perform routine maintenance on your vape. This includes replacing the coils every few weeks and checking for any leaks or cracks in the tank. By taking these simple steps, you can ensure that your vape is performing at its best and providing you with a satisfying vaping experience.
Remember, a clean vape is a happy vape. So don’t neglect your cleaning and maintenance duties, or you may end up with a vape that’s not so enjoyable to use.
Troubleshooting Common Issues
So, you’ve just set up your new vape and you’re ready to start vaping. But wait, what if you encounter some issues? Don’t worry, we’ve got you covered. Here are some common issues that you might face and how to troubleshoot them:
Leakage
Leakage is one of the most common issues that vapers face. If your vape is leaking, the first thing you need to do is check if the tank is screwed on properly. If it’s not, then tighten it up. If that doesn’t fix the issue, then you might need to replace the O-rings. You can find replacement O-rings at your local vape shop or online.
Battery Issues
If your vape isn’t turning on or isn’t holding a charge, then you might have a battery issue. First, make sure that the battery is charged. If it’s not, then charge it up. If that doesn’t work, then you might need to replace the battery. You can find replacement batteries at your local vape shop or online.
Burnt Taste
If you’re experiencing a burnt taste when you vape, then it could be because your coil needs to be replaced. Coils have a limited lifespan and need to be replaced every few weeks. If you’re not sure how to replace the coil, then check the user manual or ask for help at your local vape shop.
Clogged Tank
If your tank is clogged, then you might not be getting any vapor when you vape. To fix this, you need to clean the tank. First, empty the tank and disassemble it. Then, rinse the tank with warm water and let it dry completely. Once it’s dry, reassemble the tank and fill it up with e-liquid.
No Vapor Production
If you’re not getting any vapor when you vape, then it could be because your tank is empty or your coil needs to be replaced. First, check if your tank is empty and fill it up if it is. If that doesn’t work, then replace the coil.
Conclusion
Setting up a new vape can be a bit intimidating, but don’t worry, it’s not as complicated as it seems. By following these troubleshooting tips, you can easily fix any issues that you might encounter. So, go ahead and enjoy your new vape!
Vape Etiquette
Congratulations on getting your new vape! Now that you have your device, it’s important to know how to use it properly and respectfully. Here are some tips on vape etiquette:
- Don’t vape where smoking is prohibited. Just because vaping is allowed in some places doesn’t mean it’s allowed everywhere. Make sure to follow the rules and regulations of the location you are in. If you’re not sure whether vaping is allowed, ask someone in charge.
- Don’t blow huge clouds in public. While it may be fun to show off your cloud-chasing skills, it’s important to be considerate of those around you. Blowing huge clouds can be obnoxious and may even bother people who are not used to seeing it. Keep your clouds to yourself or blow them in a designated vaping area.
- Don’t vape in someone else’s personal space without permission. It’s important to respect other people’s boundaries. If you’re in someone else’s car or home, ask if it’s okay to vape before doing so. Even if they don’t mind, it’s always polite to ask.
- Don’t be afraid to ask for help. If you’re new to vaping, there’s a lot to learn. Don’t be afraid to ask for help from someone more experienced. Vape shops are a great resource for information and guidance.
- Don’t be rude to others who don’t vape. Just because you enjoy vaping doesn’t mean everyone else does. Don’t be rude or dismissive of people who don’t vape. It’s important to be respectful of others and their choices.
Remember, vaping is a personal choice, but it’s important to be considerate of those around you. Follow these tips to ensure a positive vaping experience for everyone involved.
Vaping Lingo
When you first start vaping, you might feel like you’re learning a whole new language. Here are some common vaping terms you should know:
1. E-juice
E-juice, also known as vape juice, is the liquid that gets turned into vapor when you vape. It usually contains a mixture of propylene glycol (PG), vegetable glycerin (VG), flavorings, and nicotine (although some e-juices are nicotine-free).
2. Coil
The coil is the heating element that turns the e-juice into vapor. It’s usually made of wire wrapped around a wick, and it’s housed in the atomizer.
3. Atomizer
The atomizer is the part of the vape that houses the coil and turns the e-juice into vapor. Some vapes have replaceable atomizers, while others have built-in atomizers that need to be replaced when they wear out.
4. Mod
The mod is the part of the vape that houses the battery and regulates the power that goes to the atomizer. Mods come in many shapes and sizes, from small, portable devices to large, boxy ones.
5. Mouth-to-lung (MTL)
MTL vaping is when you take the vapor into your mouth first, then inhale it into your lungs. This is similar to the way you smoke a cigarette.
6. Direct-to-lung (DTL)
DTL vaping is when you inhale the vapor directly into your lungs, without holding it in your mouth first. This is a more intense vaping experience.
Now that you know some of the common vaping lingo, you’ll be able to understand what other vapers are talking about. Happy vaping!